


Trip Planning
Rwanda Photography Safari: Shooting Conditions Guide
How rainforest and savannah shooting conditions differ across Rwanda, how gorilla rules and current chimpanzee briefings shape photography, and how to plan gear, light and positioning realistically.
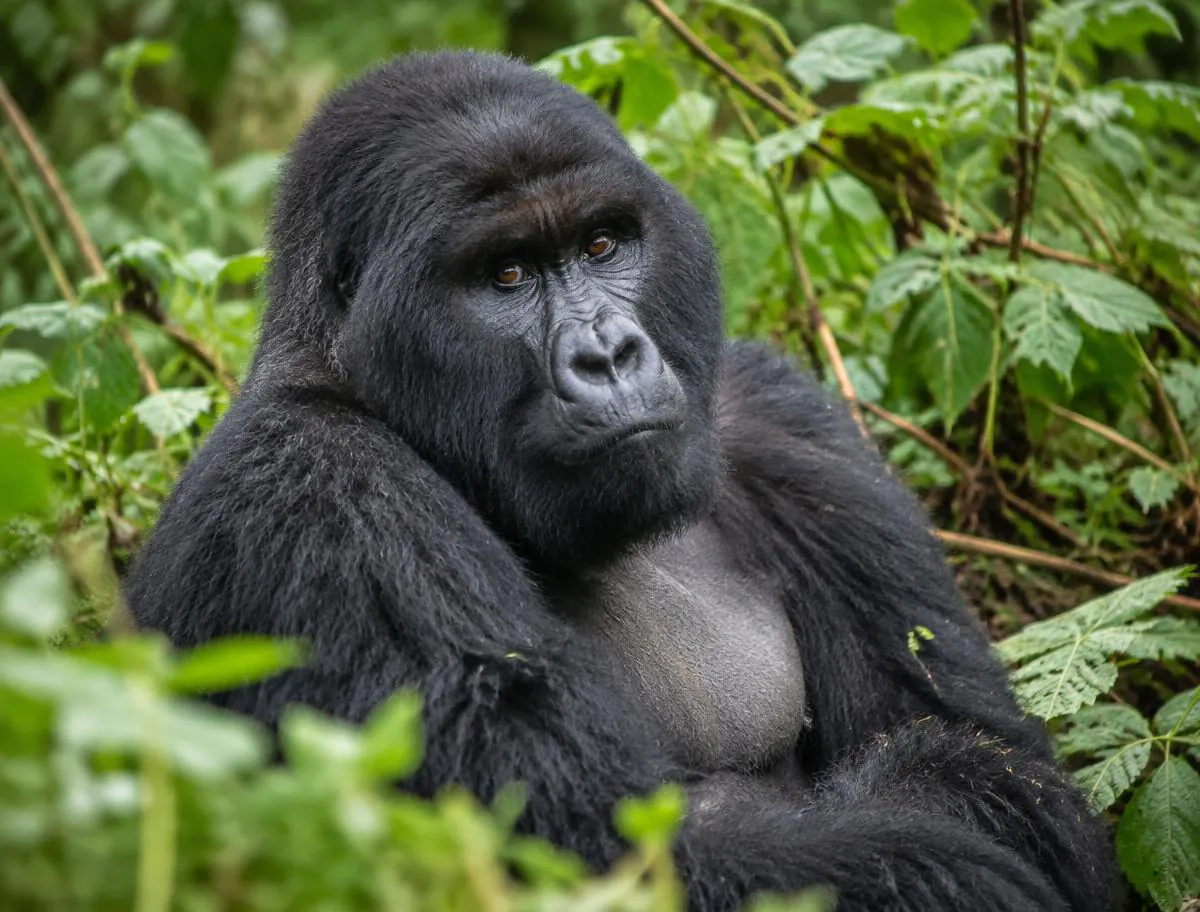
Gorilla flash ruleNo flash
Gorilla distance requestRoughly 7 metres, guide-adjusted
Gorilla viewing limitOne hour
Standard foreign-adult permitUS$1500
Setting expectations
Why photographing Rwanda is not a standard safari shoot
Most classic safari photography advice assumes open savannah, a vehicle that can reposition freely, and hours of daylight to wait for the right light. Rwanda's signature mountain-gorilla experience happens inside dense montane rainforest, on foot, within a strict one-hour viewing limit; chimpanzee tracking has its own current ranger instructions. Both are designed around the animals rather than the photograph.
That combination changes almost every technical decision: available light is far lower than open savannah, the photographer cannot choose the angle or distance freely, flash is prohibited, and there is no second visit if the first hour goes badly. Akagera (opens in a new tab), Rwanda's savannah park in the east, is the exception — it behaves much more like a conventional vehicle-based safari shoot.
This guide works through shooting conditions ecosystem by ecosystem, plus the gear, settings and ethical constraints specific to Rwanda. For the practical, non-photography version of the packing question, see the Rwanda safari packing list; this guide does not cover general travel photography composition or promise particular sightings — wildlife behaviour cannot be guaranteed on any given day.
Two shooting environments
Rainforest versus savannah: the core planning split
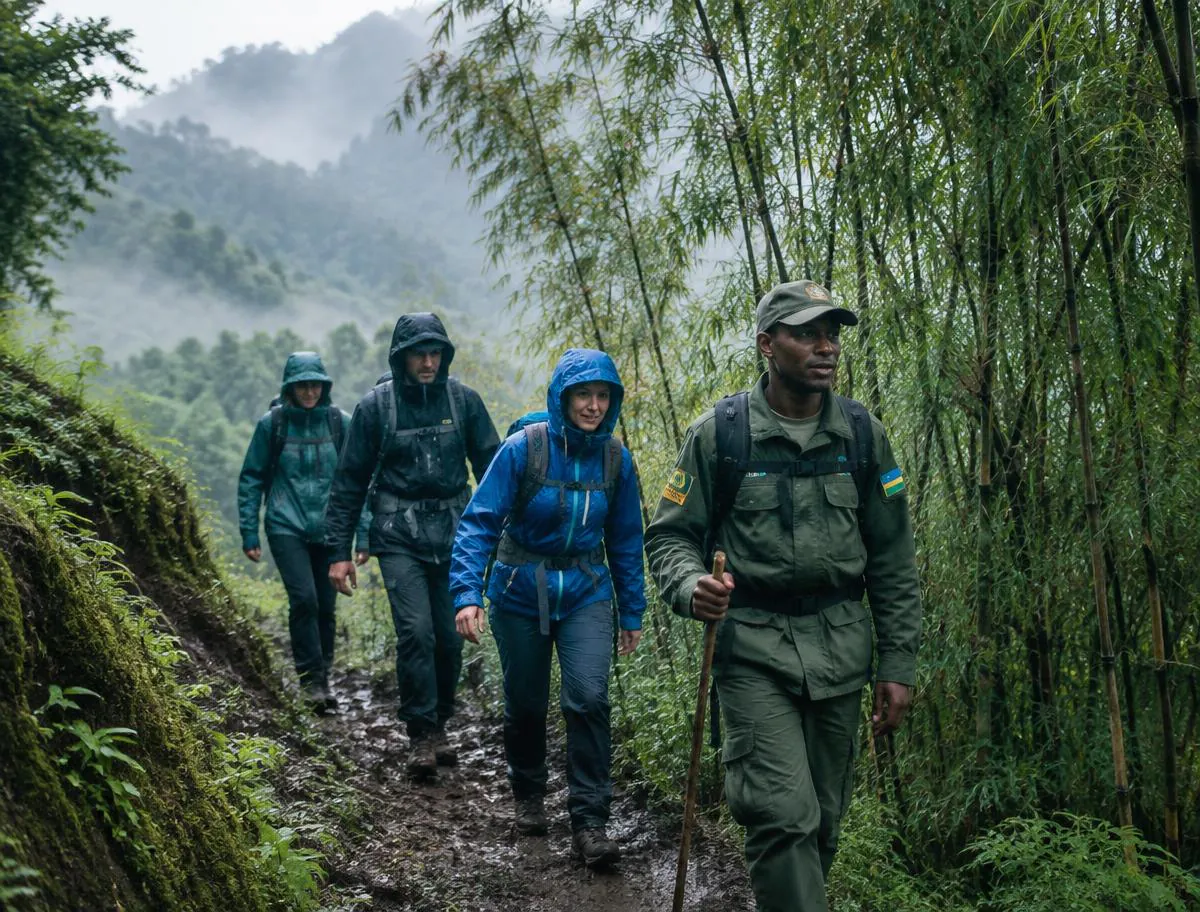
Rwanda's photography effectively splits into two environments that need different kit and different expectations. The rainforest environment — Volcanoes National Park for gorillas and golden monkeys, Nyungwe National Park for chimpanzees and colobus monkeys — is dark, closed, humid and unpredictable in framing, since the subject and the vegetation both move and the photographer walks on foot with limited repositioning.
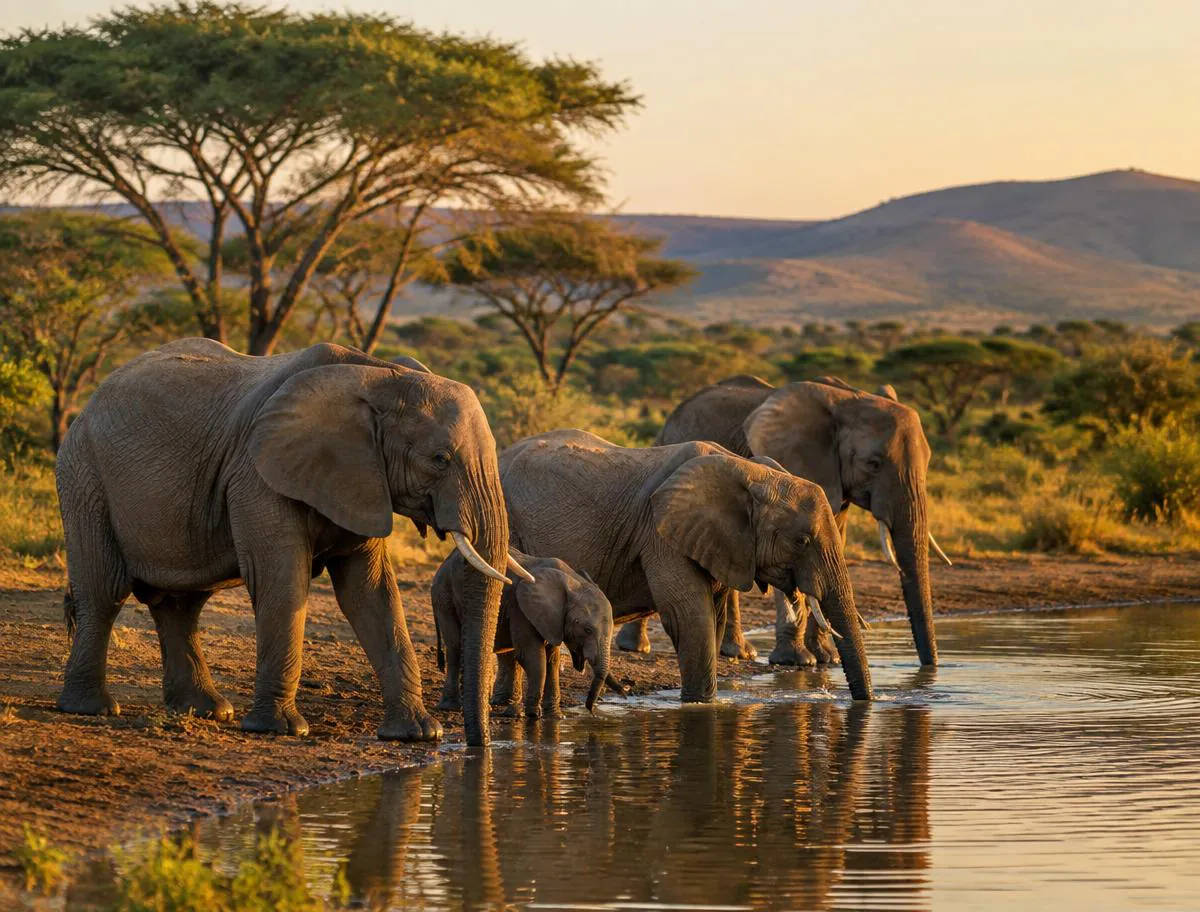
The savannah environment — Akagera National Park in the east — is open, brighter, and shot from a vehicle, which allows the classic safari techniques of beanbag or window-mount support, longer waits for behaviour, and repositioning for backlight or side light. It is the one part of a Rwanda trip where a long telephoto lens and dawn/dusk timing work exactly as they would in Kenya or Tanzania.
Treat the two as separate photography plans within the same trip: pack and prepare for the rainforest first, since it is the more technically demanding and time-limited of the two, then layer in savannah kit and technique for an Akagera add-on.
Volcanoes & Nyungwe
- Low, patchy light under closed canopy
- On foot, close range, limited repositioning
- One-hour limit, no flash, guide-directed movement
- High humidity and condensation risk
Akagera National Park
- Open light, strong at midday, best at dawn/dusk
- Vehicle-based, freer repositioning for angle and light
- Longer, flexible viewing windows
- Dust and heat management rather than damp
The central technical challenge
Working in rainforest low light
Under Volcanoes' and Nyungwe's closed canopy, usable light is often several stops darker than an open savannah morning, and it changes constantly as clouds and canopy gaps shift overhead. Photographers arriving with only bright-daylight settings dialled in are usually the ones disappointed with results afterward.
The practical response is to plan for high ISO before the trek, not during it: know your camera's usable ISO ceiling for the noise level you are willing to accept, and set a minimum shutter speed (commonly 1/250s or faster for a moving subject) as the priority, letting ISO float upward rather than dropping shutter speed to compensate for the dark.
A wide-maximum-aperture lens (f/2.8 or wider) earns its cost specifically in this environment; a slower kit lens will struggle far more in rainforest shade than the same lens would on open savannah, where more ambient light is simply available.
| Environment | Typical light | Priority setting |
|---|---|---|
| Rainforest canopy shade | Low, uneven, shifting | Shutter speed floor first, let ISO rise |
| Forest clearing / gap | Brighter, still variable | Watch for blown highlights against dark background |
| Savannah dawn/dusk | Warm, directional | Lower ISO possible; use the light rather than fight it |
| Savannah midday | Harsh, high contrast | Expect flatter results; consider a rest between drives |
Non-negotiable rules
Gorilla and chimpanzee photography restrictions
Flash photography is prohibited around mountain gorillas, one of several rules covered in full in the Rwanda gorilla trekking guide 2. For chimpanzees, confirm the current flash rule during the official briefing rather than importing the gorilla rule.
Photographers must follow guide instructions at all times, including where to stand, when to move and when to pause shooting. RDB's gorilla tracking guidance (opens in a new tab) specifies a requested distance of seven metres; follow the guide as animals move 2. Confirm chimpanzee-specific distance instructions at that activity's briefing.
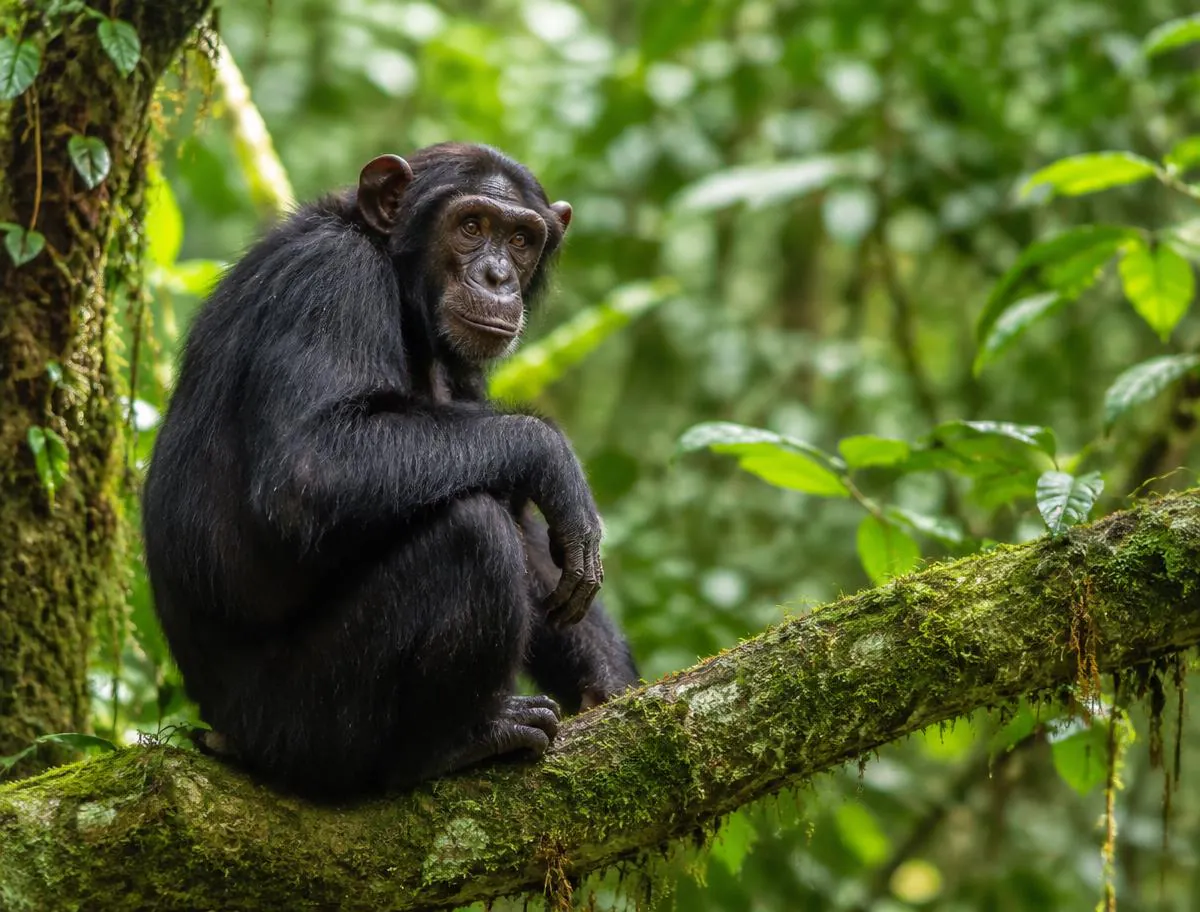
The one-hour viewing limit with gorillas is fixed regardless of photographic progress. For chimpanzees in Nyungwe National Park, follow the ranger's current tracking, viewing-time and photography instructions during the activity rather than importing gorilla rules automatically.
- 01Rule 1
Prepare for no-flash forest work
Flash is prohibited around gorillas. For chimpanzees, confirm the current rule at the briefing; pre-set high-ISO, no-flash settings before either trek.
- 02Rule 2
Guide instructions override framing
Stop shooting and reposition immediately if a guide directs the group to move or pause.
- 03Rule 3
Maintain the required distance
For gorillas, RDB requests roughly seven metres; follow current ranger instructions for every other primate activity.
- 04Rule 4
Work within one hour, no exceptions
The encounter ends on schedule regardless of how the shoot went; plan shot priorities in advance.
What to actually pack
Lens and gear planning for a mixed Rwanda trip
For gorillas and chimpanzees, a mid-range zoom in roughly the 70–200mm class (or an equivalent on a mirrorless system) is generally more useful than a long super-telephoto, because the required distance is short and dense vegetation often prevents using a longer lens' minimum focus distance effectively. A fast prime around 50–85mm is a strong secondary option for environmental portraits in tight forest space.
For golden monkeys and colobus, similarly close-range primates in bamboo or forest canopy, the same mid-range zoom applies, with fast autofocus prioritised over reach, since the animals move quickly through cover.
For Akagera's savannah wildlife, a longer telephoto (300mm and up, or a 100–400mm-class zoom) is worth carrying, since vehicle-based distances to animals are typically much greater than the seven-metre primate rule allows. A single trip covering both environments often means packing two distinct lens ranges rather than one all-purpose zoom.
Mid-range zoom (approx. 70–200mm)
The core lens for gorillas, chimps and golden monkeys at close, guide-set distances.
Fast prime (50–85mm, wide aperture)
Useful secondary option for portraits in tight forest light.
Long telephoto (300mm+) for Akagera only
Matches vehicle-based savannah distances; largely unnecessary in the rainforest.
Flash or external strobe
Prohibited around gorillas; confirm the current chimpanzee rule during the activity briefing.
Spare batteries and memory cards
Cold starts and long forest mornings drain batteries faster than expected.
A tripod for the one-hour encounter
Rarely practical on foot in dense forest with a moving subject; handheld with a wide-aperture lens is standard.
Protecting the kit
Weather protection and humidity management
Rwanda's climate is tropical highland (opens in a new tab), with rains broadly across mid-February to May and again mid-September to mid-December, and a drier main window roughly June to mid-September (see the best time to visit Rwanda guide for the full seasonal breakdown); rain is genuinely possible outside the drier months and light drizzle is common even within it, especially in the rainforest. A rain cover for the camera body and lens is standard kit for any forest trek, not an optional extra.
Condensation is a bigger practical risk than rain itself: moving equipment quickly from an air-conditioned vehicle or lodge room into humid forest air fogs lenses and viewfinders. Let gear acclimatise gradually in a bag before shooting, and carry silica gel packets in the camera bag to manage moisture overnight.
Dust is the equivalent risk in Akagera's drier savannah conditions; a rear-cap and front-cap discipline between shots, and a rocket blower rather than a cloth for sensor-adjacent cleaning, reduces the risk of grinding dust into the glass.
Rain cover for body and lens
Major driverStandard for any rainforest trek regardless of forecast.
Silica gel in the camera bag
Major driverManages condensation risk overnight and after vehicle-to-forest transitions.
Lens cloth and blower, not compressed air
Moderate driverGentler on lenses in humid, fine-particulate forest conditions.
Dry bag or waterproof pouch for spares
Moderate driverProtects batteries and cards from unexpected downpours on the trail.
Dust-aware lens changes in Akagera
OptionalMinimise open-body lens swaps in dry, dusty savannah conditions.
Where you actually shoot from
Vehicle positioning and on-foot movement
In Akagera, a pop-top or open-sided vehicle allows a beanbag or window mount and repositioning for light and angle, much as in a conventional East African safari; ask the operator directly what vehicle configuration is used, since this affects shooting angle more than any lens choice.
In the rainforest, there is no vehicle at the animal itself: gorilla and chimpanzee encounters happen entirely on foot, with the group's position set by rangers based on where the animals are and how they are moving, not by photographer preference. Physical fitness for uneven, sometimes steep and muddy terrain matters as much as camera technique, since arriving fatigued reduces steadiness for handheld low-light shooting.
A monopod is sometimes more practical than a tripod for forest walking sections before an encounter, but many photographers find handheld with image stabilisation the simplest option given how quickly the group moves once the animals are located.
Conservation comes first
Ethical wildlife photography in Rwanda
Rwanda's tracking rules exist primarily for conservation, not tourist comfort: mountain gorillas and chimpanzees share close genetic similarity with humans and are vulnerable to human respiratory illness, which is why sick visitors are asked not to trek and why distance rules exist regardless of how habituated an animal appears 5 4. A photographer's job is to work within those rules, not to negotiate around them for a better angle.
Baiting, calling, or any attempt to provoke a reaction from wildlife for a photograph is not part of Rwanda's tracking model (opens in a new tab) and would breach guide instructions; images that look most striking are typically the product of patience during the fixed hour, not intervention.
The same ethic extends to Akagera: maintaining vehicle distance guidelines, not pressuring a driver-guide to approach closer than is comfortable for the animal, and prioritising the animal's undisturbed behaviour over a specific composition.
Where to build confidence first
Building technique before the big encounter
Because the gorilla or chimpanzee hour is short and unrepeatable, and any safari in Rwanda carries real planning stakes, it is worth using earlier, lower-stakes moments in a Rwanda trip to test camera settings under similar light: a Nyungwe canopy walk, a quiet forest-edge trail, or even a shaded lodge garden at dusk can approximate the low, patchy light of a primate encounter closely enough to dial in ISO ceiling and shutter-speed floor beforehand.
Reviewing test shots on a laptop rather than only a camera screen, before the main trek day, catches exposure or focus problems while there is still time to adjust settings, rather than discovering them after the one hour has already passed.
For Akagera, an early-morning or late-afternoon game drive on the first day of that chapter is a reasonable place to test long-lens technique and vehicle stability before conditions or opportunities that matter most.
Fitting photography into the itinerary
Sequencing a photography-focused Rwanda itinerary
A photography-led Rwanda trip benefits from the same pacing logic as any well-designed Rwanda itinerary, with one addition: build in a settling day after arrival specifically to test gear and adjust to light and humidity, before the higher-stakes primate morning. Arriving directly from a long flight into a first gorilla trek the next morning leaves no margin for a gear problem.
Where both rainforest and savannah photography are wanted, sequence the rainforest chapter first while energy for early starts and forest walking is highest, then move to Akagera's more physically comfortable vehicle-based shooting later in the trip.
Booking activities on more than one day can create another opportunity under different light and animal-position conditions, but it never guarantees a result. This is a deliberate strategy for photography-focused travellers rather than a standard itinerary choice, and it should be budgeted against the current gorilla permit cost and any separately confirmed chimpanzee rules. A tour operator experienced with photography-led itineraries can help sequence permits and buffer days — see private safaris for that kind of tailored planning.
- Day 1
Arrival and settling
Test gear, adjust to humidity, and confirm all low-light settings before any trek day.
- Days 2–4
Rainforest chapter
Gorilla and/or golden monkey or chimpanzee permits, prioritised while energy and light-testing are freshest.
- Mid-trip
Transfer and rest
A buffer day to review images, clean gear and recover before the next chapter.
- Later days
Savannah chapter (Akagera)
Vehicle-based shooting with longer lenses, dawn and dusk drives prioritised for light.
Planning FAQ
Direct answers about photographing Rwanda
Can I use flash photography with gorillas or chimpanzees?
RDB prohibits flash around gorillas. For chimpanzees, follow the ranger's current photography instructions and confirm the flash rule during the official briefing.
What is the single most useful lens for gorilla trekking?
A fast mid-range zoom in roughly the 70–200mm class is generally more practical than a long telephoto, because the required viewing distance is short and dense vegetation limits a longer lens' effectiveness.
Is a tripod worth carrying on a gorilla trek?
Rarely — the group moves on foot at a guide's pace and a tripod is impractical in dense terrain; most photographers shoot handheld with a wide-aperture lens and image stabilisation.
How long do I actually have to photograph gorillas or chimpanzees?
Gorilla viewing is limited to one hour. Confirm the current chimpanzee viewing-time rule during the official briefing rather than assuming the gorilla limit applies.
Is Akagera easier to photograph than the rainforest parks?
In technical terms, yes — it is vehicle-based with more open light and repositioning options, closer to a conventional East African safari shoot than the rainforest primate treks.
What is the biggest weather risk for camera gear in Rwanda?
Humidity and condensation in the rainforest, and dust in Akagera's drier savannah conditions; a rain cover and silica gel address the first, careful lens-change discipline addresses the second.
Can I guarantee a good photograph by booking multiple permits?
No guarantee, but booking gorilla or chimpanzee permits on more than one day can create more opportunities of better light or animal position on at least one occasion, since conditions vary day to day.
Does higher spend get better photography access or a longer hour?
No — the gorilla one-hour limit, requested distance and no-flash rule do not change with budget; premium planning affects logistics and comfort, not the park rules. Follow the separate current ranger briefing for chimpanzees.
Continue planning
Read the guide that owns your next question
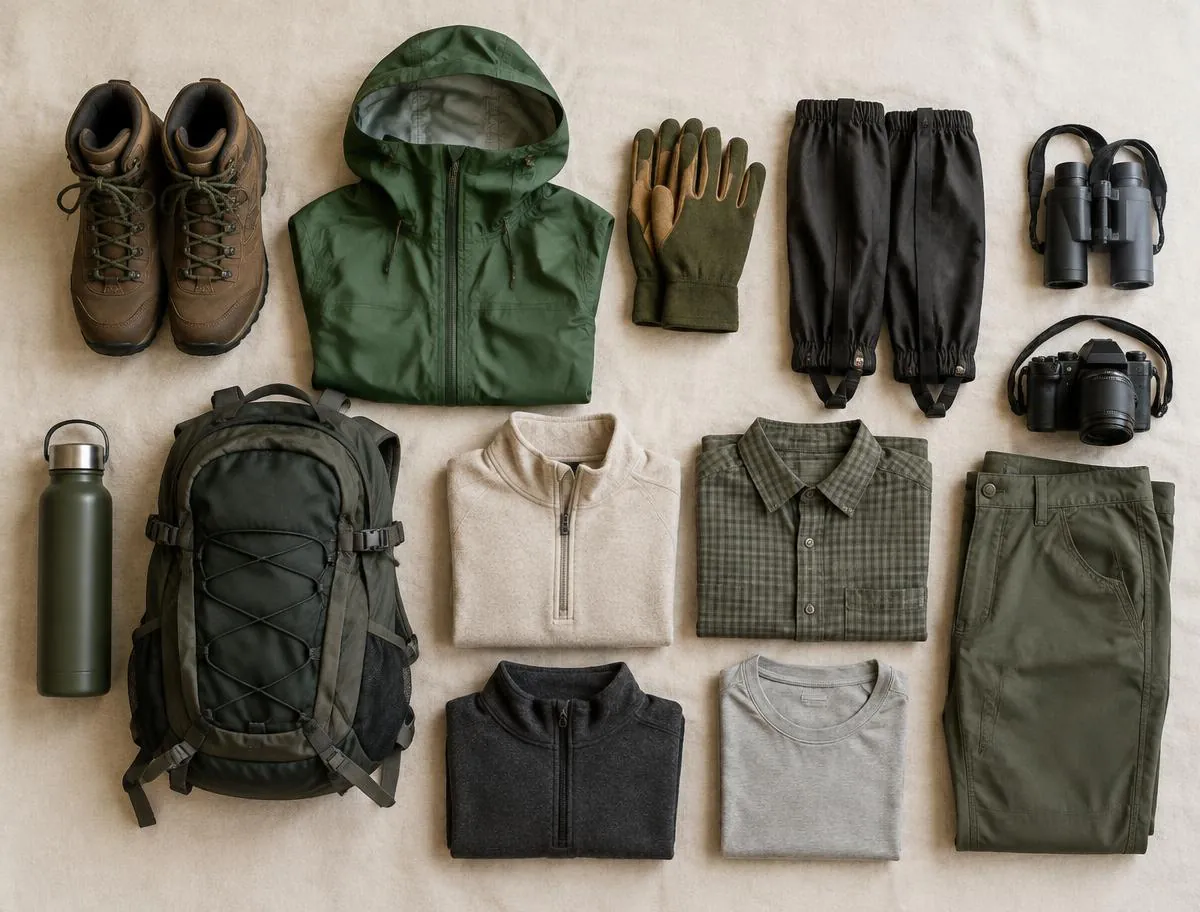
Volcanoes National Park
The park and rules behind every gorilla and golden monkey photography plan.
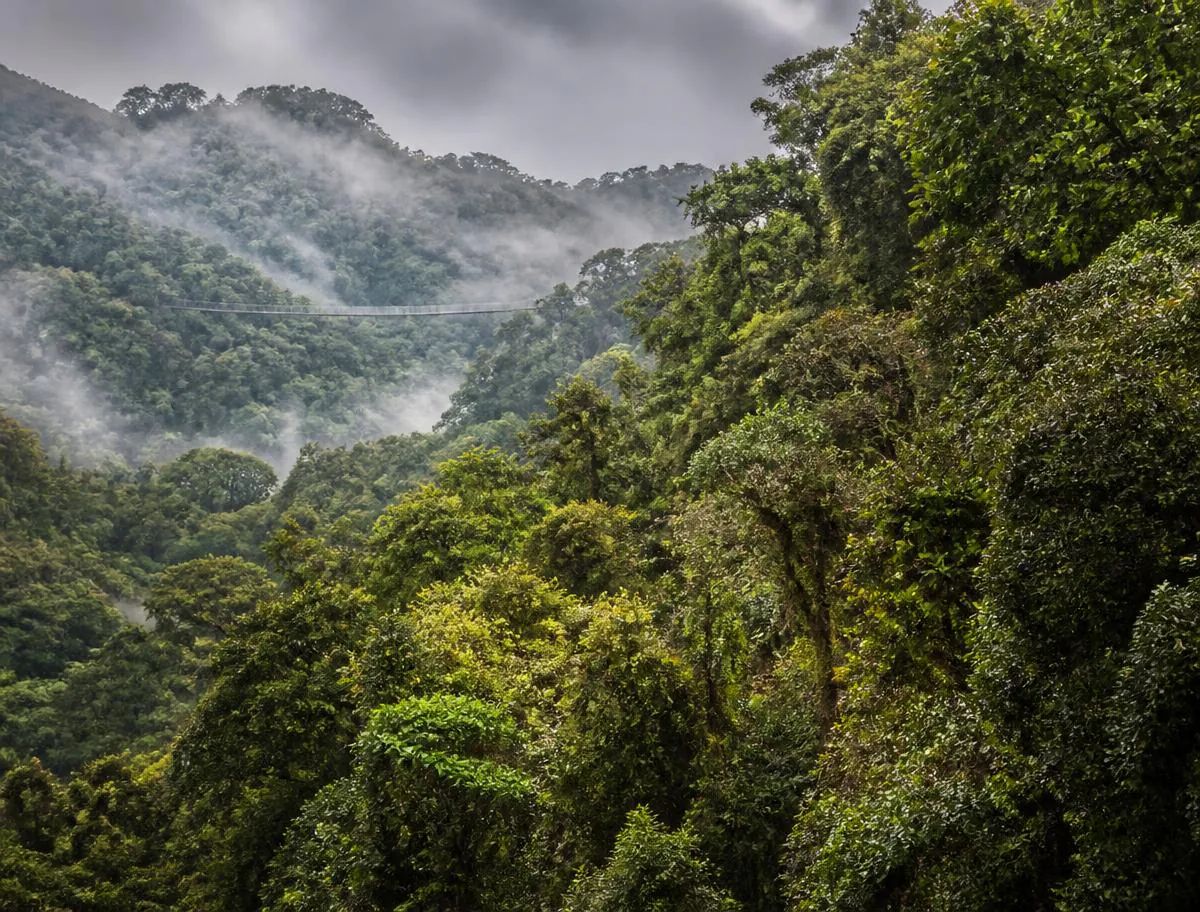
Chimpanzee Trekking Rwanda
How chimpanzee tracking works in Nyungwe, beyond the photography angle.
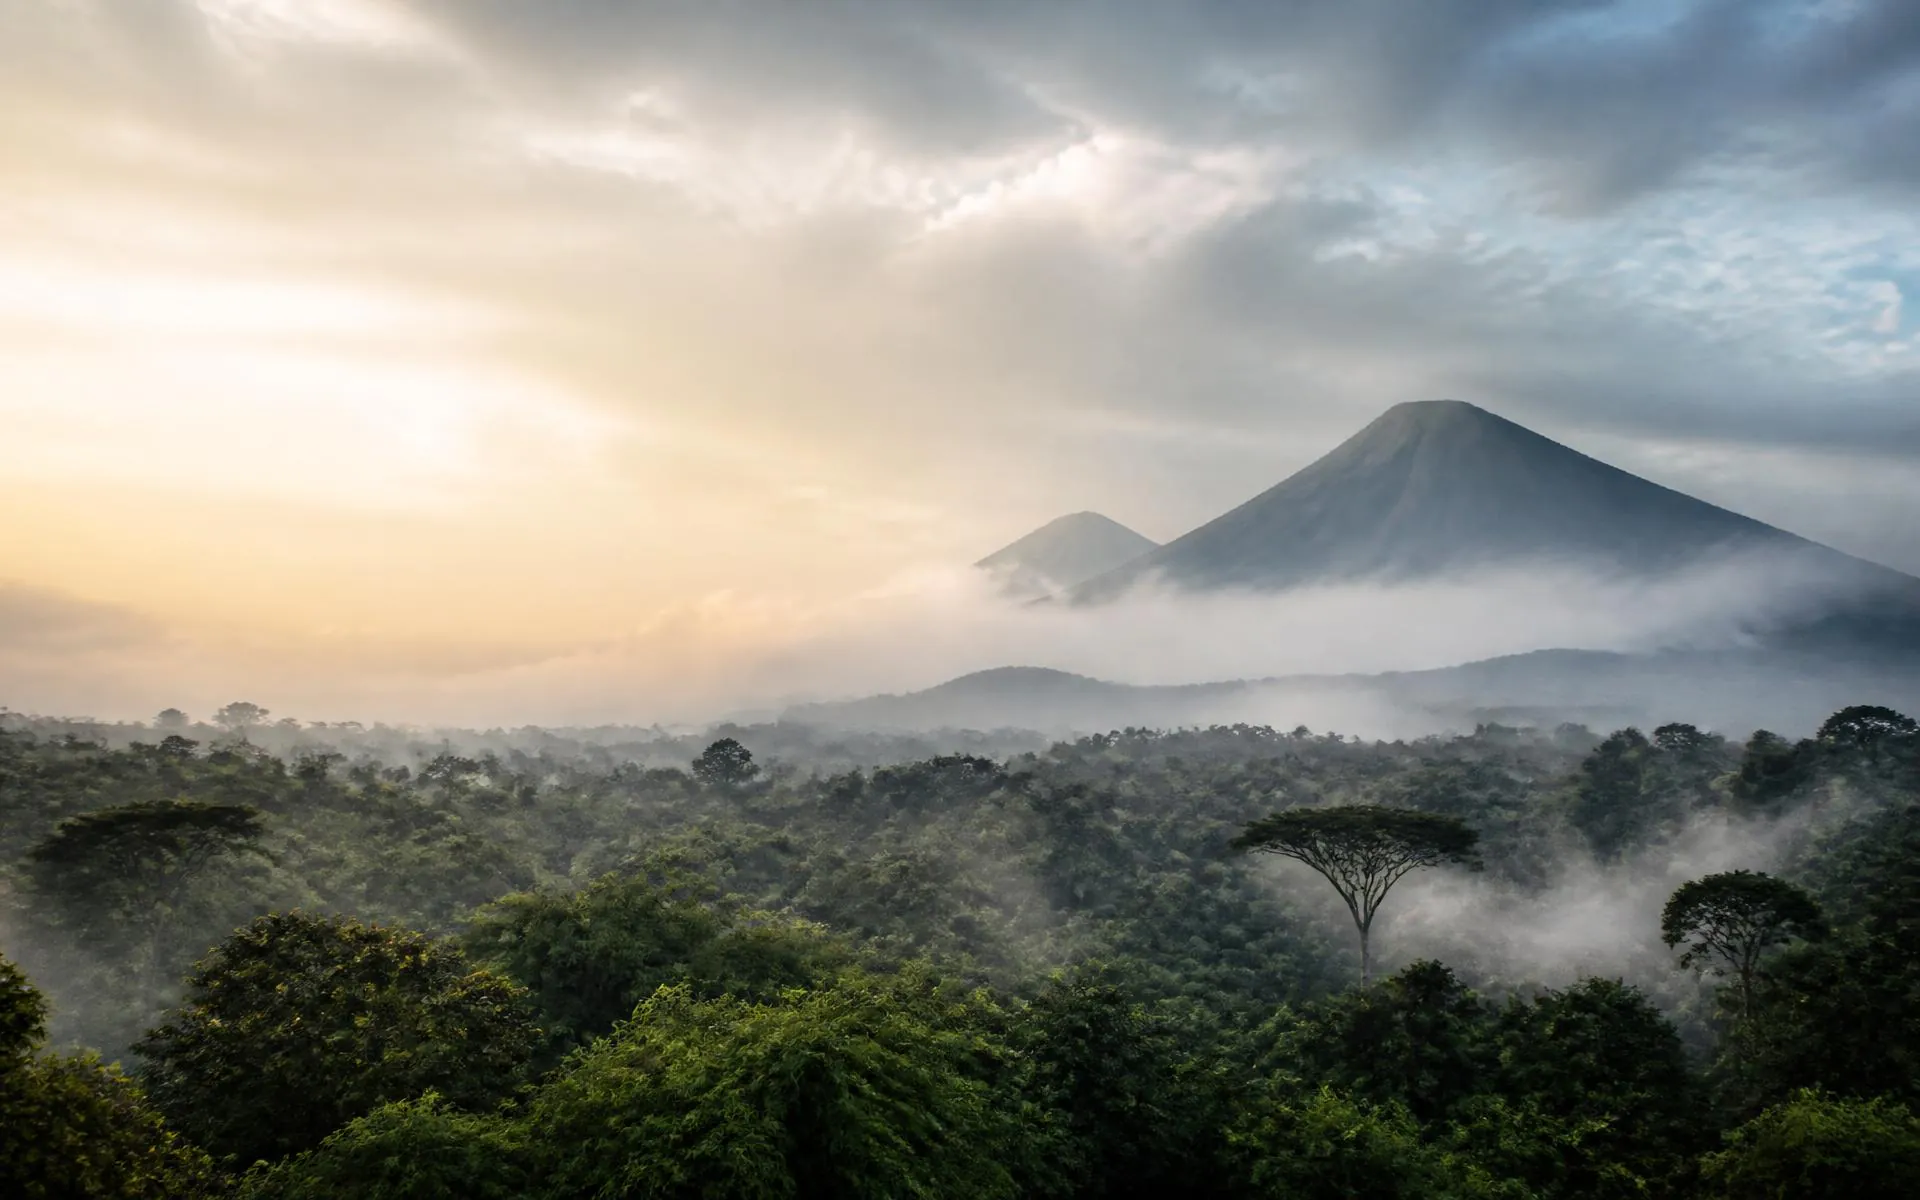
Akagera National Park
Rwanda's savannah chapter for vehicle-based, long-lens photography.
Best Time to Visit Rwanda
Season-by-season conditions that shape light and weather planning.
Sources & verification
Official information behind this guide
RDB and park visitor-conduct guidance are the authorities for the fixed distance, flash and time rules described here. Visit Rwanda supports destination and seasonal context. Camera-model recommendations and gear brands are deliberately general rather than tied to a specific product; verify current park rules directly before travelling.
- RDB — Mountain gorilla tracking Category-specific permit rates, minimum age and reporting rules
- Volcanoes National Park — Instructions for gorilla visits Official-style visitor conduct and photography-relevant conduct guidance
- Visit Rwanda — Primate tracking Official primate-tracking context; activity-specific rules must be confirmed before travel
- Visit Rwanda — Weather Seasonal rainfall and light-planning context
- Visit Rwanda — Akagera National Park Official destination context for the savannah photography chapter
Plan the shoot, not just the trip
Build gear planning into the itinerary, not around it.
Sequence rainforest and savannah photography chapters with buffer days for testing gear and reviewing images, working with a licensed operator who understands both environments.