


Shira Route
The Shira route explained: how the plateau approach works, why the high start changes your acclimatisation planning, how it compares with Lemosho, and who should, and should not, choose it.
- Guide
- Route Guide
- Reading time
- 15minutes
- In this guide
- 10sections
- 7–8 days recommended
- Plateau approach
- Good acclimatisation
- Best for scenery seekers
- Route fit checker
Local Tanzania team · Licensed mountain crew · Real Safari Soles itineraries
The Shira route (sometimes called Shira Plateau or Shira Gate route) reaches the Shira Plateau from the west with a much shorter forest section than Lemosho, because vehicles can drive high up the western side to the Shira trailhead. From the plateau it follows the same line as Lemosho (Lava Tower, Barranco, Karanga, Barafu) to the summit.
- Reaches the Shira Plateau quickly via a high western trailhead.
- Shares the southern circuit with Lemosho and Machame from the plateau onwards.
- Skips most of the rainforest: less mud, but also less gradual walk-in.
- The high start means acclimatisation days on the plateau are essential.
- Less commonly sold than Lemosho, so compare itineraries carefully.
01 / 10
Understanding the Shira Route
A high-start plateau approach that reaches the Shira Plateau quickly: useful for specific plans, but demanding careful acclimatisation because you begin high.
Where this fits: this guide is part of the Kilimanjaro climbing guides hub, which supports our main Kilimanjaro climbing page and our published Kilimanjaro climb prices. Compare it against every other option in the Kilimanjaro route comparison and the closest alternative route, then read the altitude and safety guide and the cost breakdown; the park is a UNESCO World Heritage site and background on the mountain itself is on Wikipedia.
Shira and Lemosho end up in the same place: the Shira Plateau, a broad high plain on Kilimanjaro's western side formed by an older collapsed cone. The difference is how you get there. Lemosho walks up through the rainforest over two days. Shira uses a high vehicle approach and starts you close to the plateau itself.
That appeals to some travellers. You skip the long, humid, sometimes muddy forest days and get straight into the open high-altitude landscape that most people came for. On a tight schedule it can look like an efficient choice.
The catch is physiological. Walking in from low altitude is not wasted time. It is your body's first adaptation work. Starting high compresses that process, so the first day or two on the plateau need to be genuinely restful with acclimatisation walks rather than a rush towards Lava Tower.
Our honest position: for most first-time climbers, Lemosho is the better route because the walk-in helps. We plan Shira when there is a specific reason: a scheduling constraint, a strong preference to avoid the forest, or a climber returning to the mountain who already knows how they handle altitude.
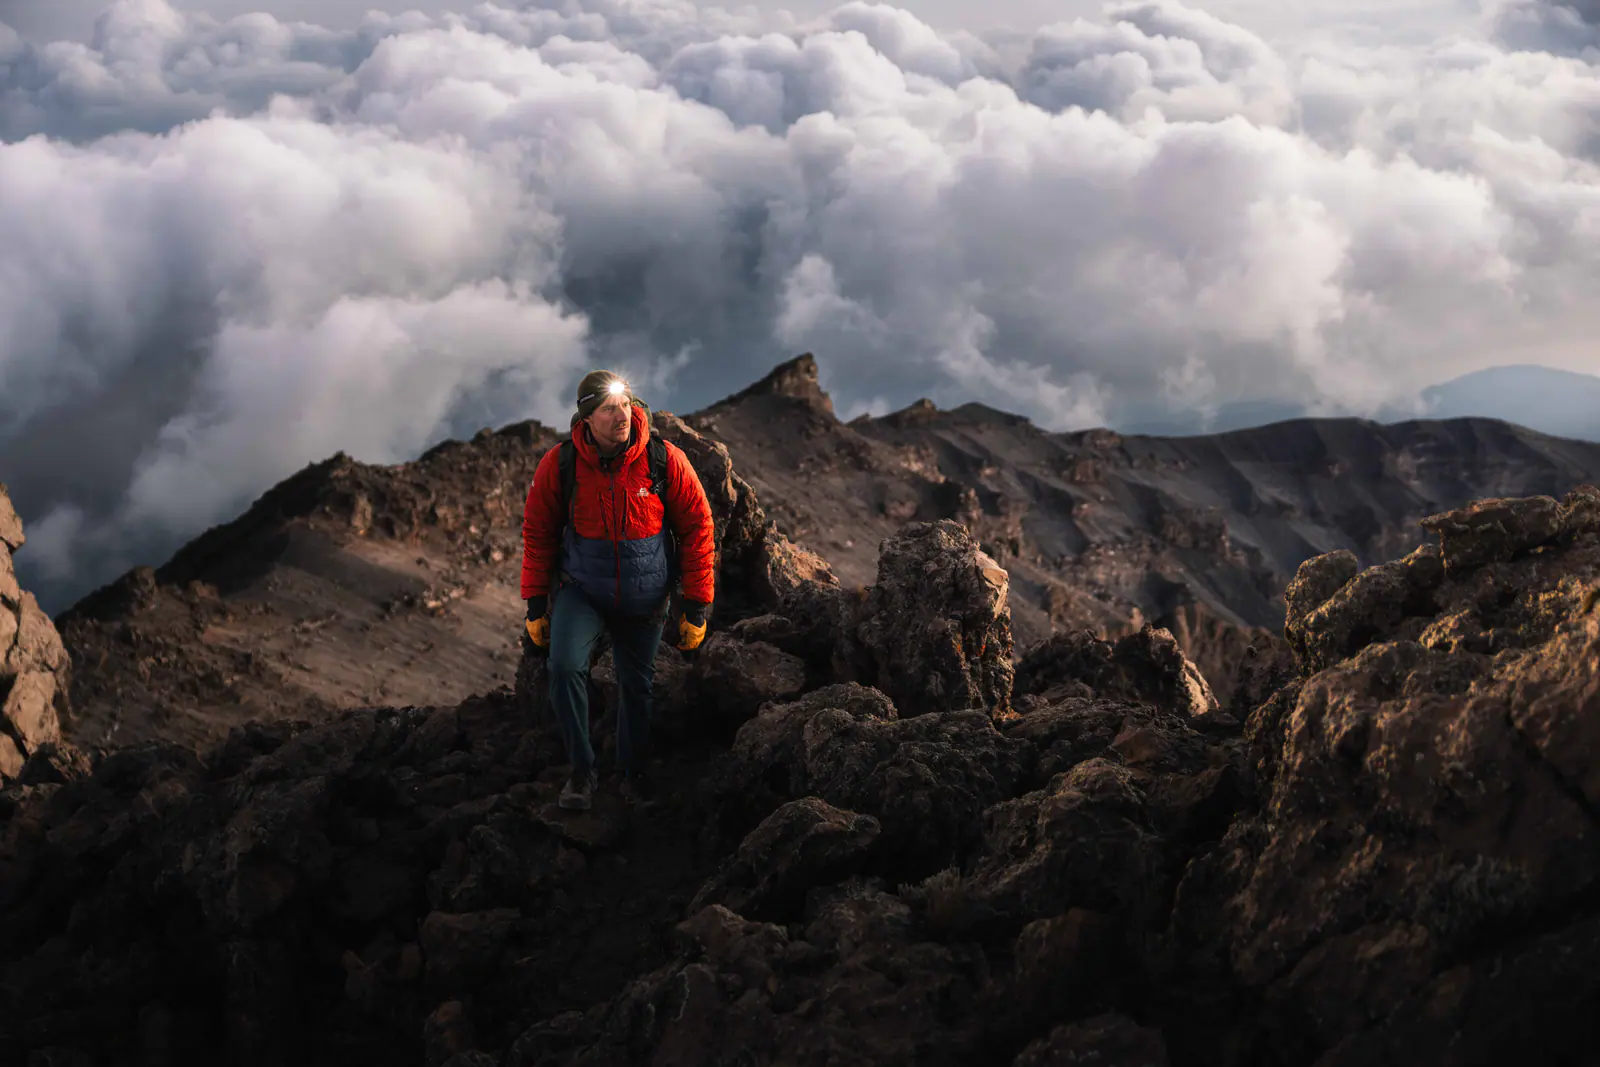
A trekker in a red jacket climbs over dark volcanic rock with cloud building behind.
02 / 10
Quick facts and route profile
Use this as your planning snapshot. Exact distances and camp altitudes vary slightly between itineraries, so confirm the final version of your itinerary with Safari Soles before booking flights.
- Recommended duration
- 7 to 8 days on the mountain, with plateau acclimatisation time built in
- Distance
- Shorter than Lemosho because the forest section is reduced: confirm exact figures with our team
- Difficulty
- Moderate walking; the challenge is altitude management at the start
- Accommodation
- Mountain tents throughout
- Best for
- Climbers with specific scheduling needs, or those wanting to avoid the long forest day
- Crowd level
- Low at the start, then shared with Lemosho and Machame
- Acclimatisation profile
- Depends entirely on itinerary design: needs deliberate plateau days
- Starting point
- High western trailhead on the approach to the Shira Plateau
- Descent route
- Mweka Route
- Honest note
- For most climbers Lemosho is the better version of the same experience
Who this route suits: and who it does not
The Shira Route is a good fit if…
- You have climbed at altitude before and know how your body responds.
- You specifically want to avoid the long rainforest approach days.
- You are returning to Kilimanjaro and want a different start to the mountain.
- You are happy to build in deliberate plateau acclimatisation time.
- You want the Shira Plateau and southern circuit scenery without the western forest.
- You are comfortable camping throughout.
Consider another route if…
- This is your first time at high altitude, take Lemosho instead.
- You are using Shira to shorten your trip rather than to change its shape.
- You want a gradual walk-in from low altitude.
- You want the widest range of climate zones: Lemosho and Machame give you more forest.
- You want the quietest possible route: Northern Circuit or Rongai are quieter.
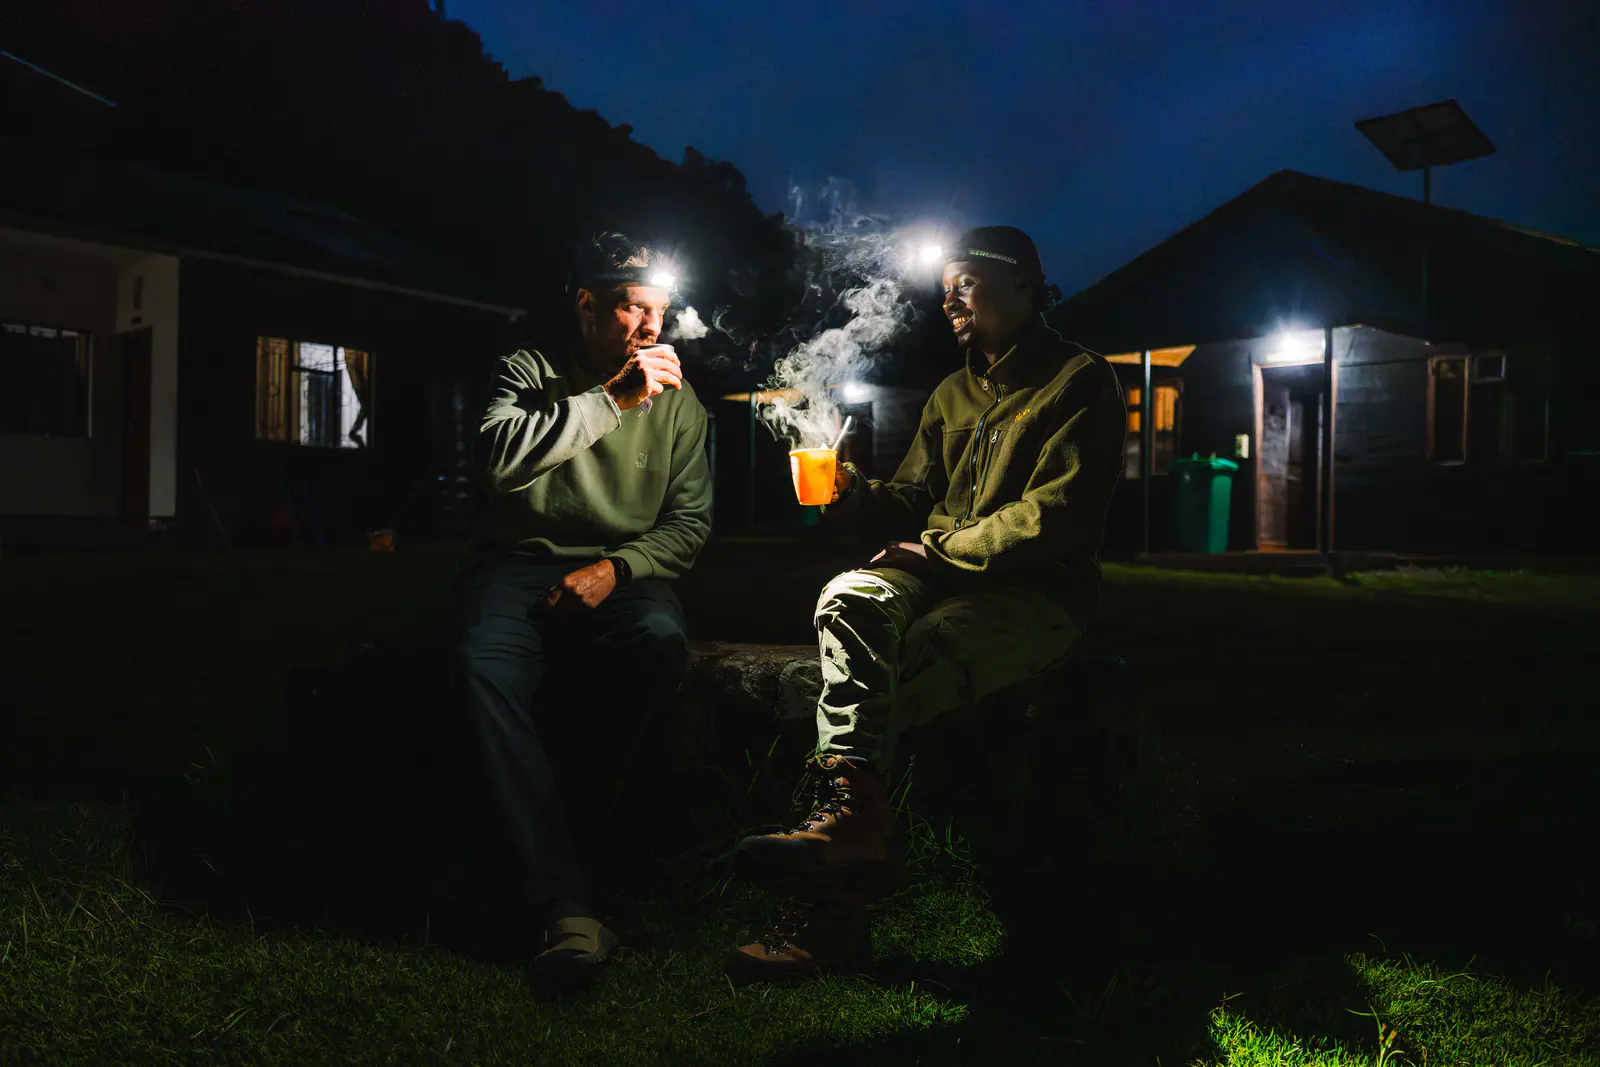
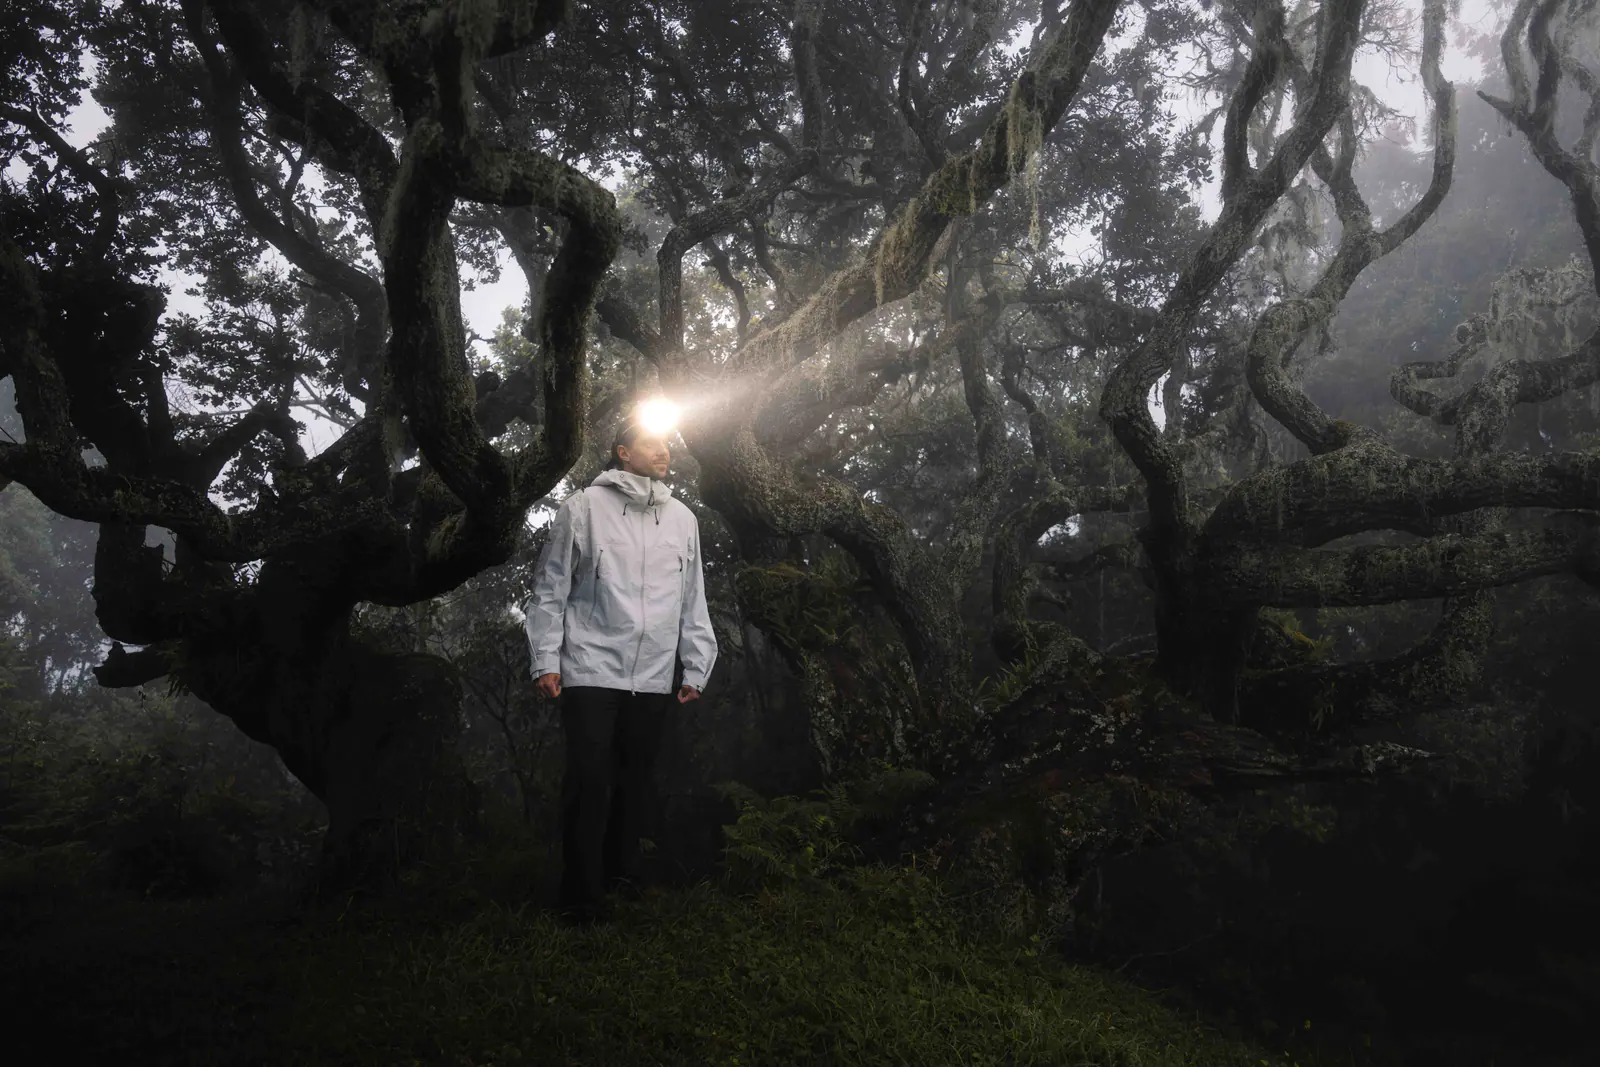
Two guides sit outside a hut at night, headlamps on, sharing a hot drink.
03 / 10
How many days on the Shira route?
Because Shira begins high, day count alone tells you less than usual. A seven-day Shira itinerary with two deliberate plateau days can acclimatise you well; a seven-day Shira itinerary that pushes straight for Lava Tower does not.
We build Shira climbs with an acclimatisation day on the plateau and the Karanga night included, which usually means eight days on the mountain. That gives you the plateau time the high start removes and keeps the pre-summit day short.
If your reason for considering Shira is to save a day compared with Lemosho, be aware you are saving the days that help you most. In that situation a 7-day Lemosho is usually a better trade.
When comparing quotes for this route, look at where the acclimatisation days sit rather than the total. Two operators can both sell 'Shira 7 days' with very different profiles.
Duration options compared
| Option | Mountain days | Plateau acclimatisation | Verdict |
|---|---|---|---|
| Shira with plateau rest day | 8 | Yes | The version we plan and recommend |
| Shira direct to Lava Tower | 6–7 | Minimal | Not recommended: high start with no adaptation time |
| Lemosho instead | 7–8 | Built in via the forest walk-in | Better default for first-timers |
Shira with plateau rest day
- Mountain days
- 8
- Plateau acclimatisation
- Yes
- Verdict
- The version we plan and recommend
Shira direct to Lava Tower
- Mountain days
- 6–7
- Plateau acclimatisation
- Minimal
- Verdict
- Not recommended: high start with no adaptation time
Lemosho instead
- Mountain days
- 7–8
- Plateau acclimatisation
- Built in via the forest walk-in
- Verdict
- Better default for first-timers
04 / 10
Shira Route day-by-day and camp progression
This is the typical flow of the climb. Camp names stay consistent across operators, while walking hours change with weather, group pace and how your guide manages acclimatisation.
- Day 1
Drive to the western trailhead, walk to Shira Camp
A long drive around the mountain and up the western approach, park formalities, then a short walk onto the plateau. You sleep high on the first night, so a slow afternoon and plenty of fluids matter.
- Day 2
Acclimatisation day on the Shira Plateau
A gentle out-and-back walk towards Shira Cathedral or the plateau rim, gaining height during the day and returning to sleep at the same camp. The most important day on this itinerary.
- Day 3
Shira Plateau to Lava Tower and down to Barranco Camp
Climb-high, sleep-low day: up towards 4,600m at Lava Tower, lunch high, then descend into the Barranco valley beneath the southern icefields.
- Day 4
Barranco Camp to Karanga Camp
The Barranco Wall scramble first thing, then a rolling traverse to Karanga. Short walking day and a genuine rest afternoon.
- Day 5
Karanga Camp to Barafu Camp
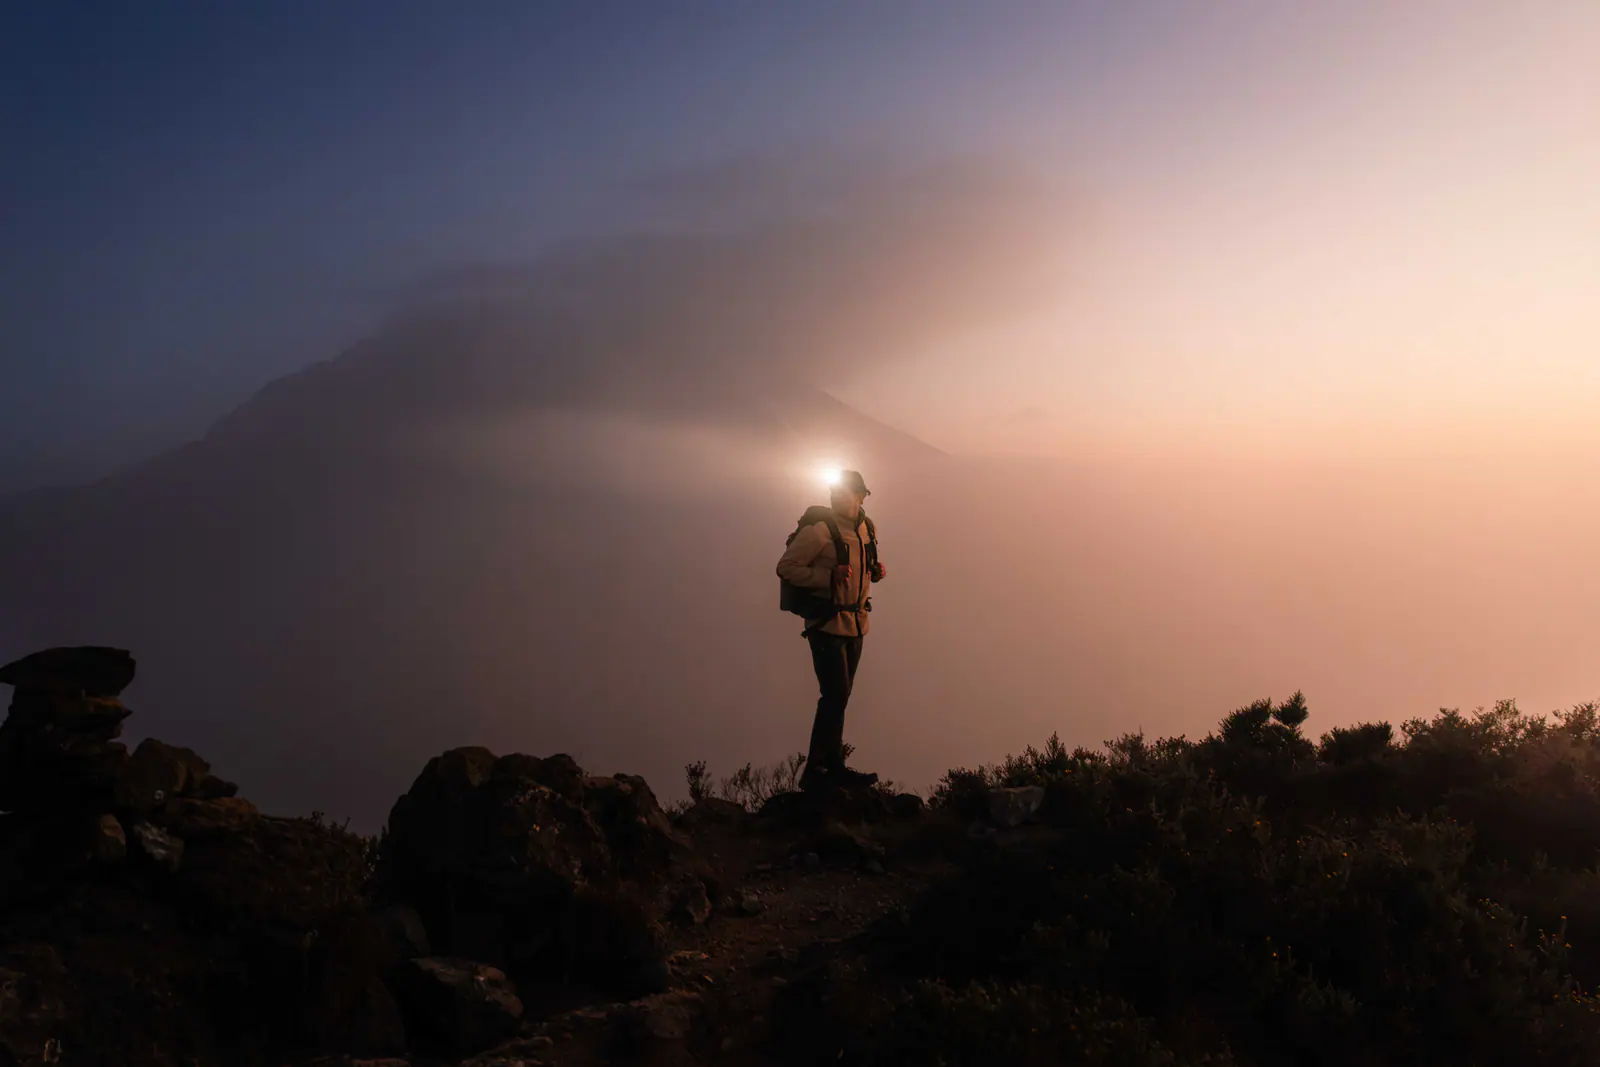
Alpine desert walking to the pre-summit camp. Arrive early afternoon, sort summit layers, eat and sleep before a midnight wake-up.
- Day 6
Summit night to Uhuru Peak, then down to Mweka
Midnight start, slow ascent to Stella Point for sunrise, then the rim to Uhuru Peak at 5,895m. Descend to Barafu, rest, then continue to Mweka or High Camp.
- Day 7
Mweka Camp to Mweka Gate
Descent through rainforest to the gate, the forest section you skipped on the way up, then certificates, tipping and transfer to your hotel.
What camp progression feels like
Shira Camp is open, exposed and often windy, with enormous skies and cold nights. Because you arrive there on day one, it is worth setting up carefully: warm layers on early, hot drinks, and a slow evening.
From Barranco onwards the camps are the familiar southern circuit ones: Barranco beneath the Wall, Karanga on its ridge, and bare, windy Barafu before the summit.
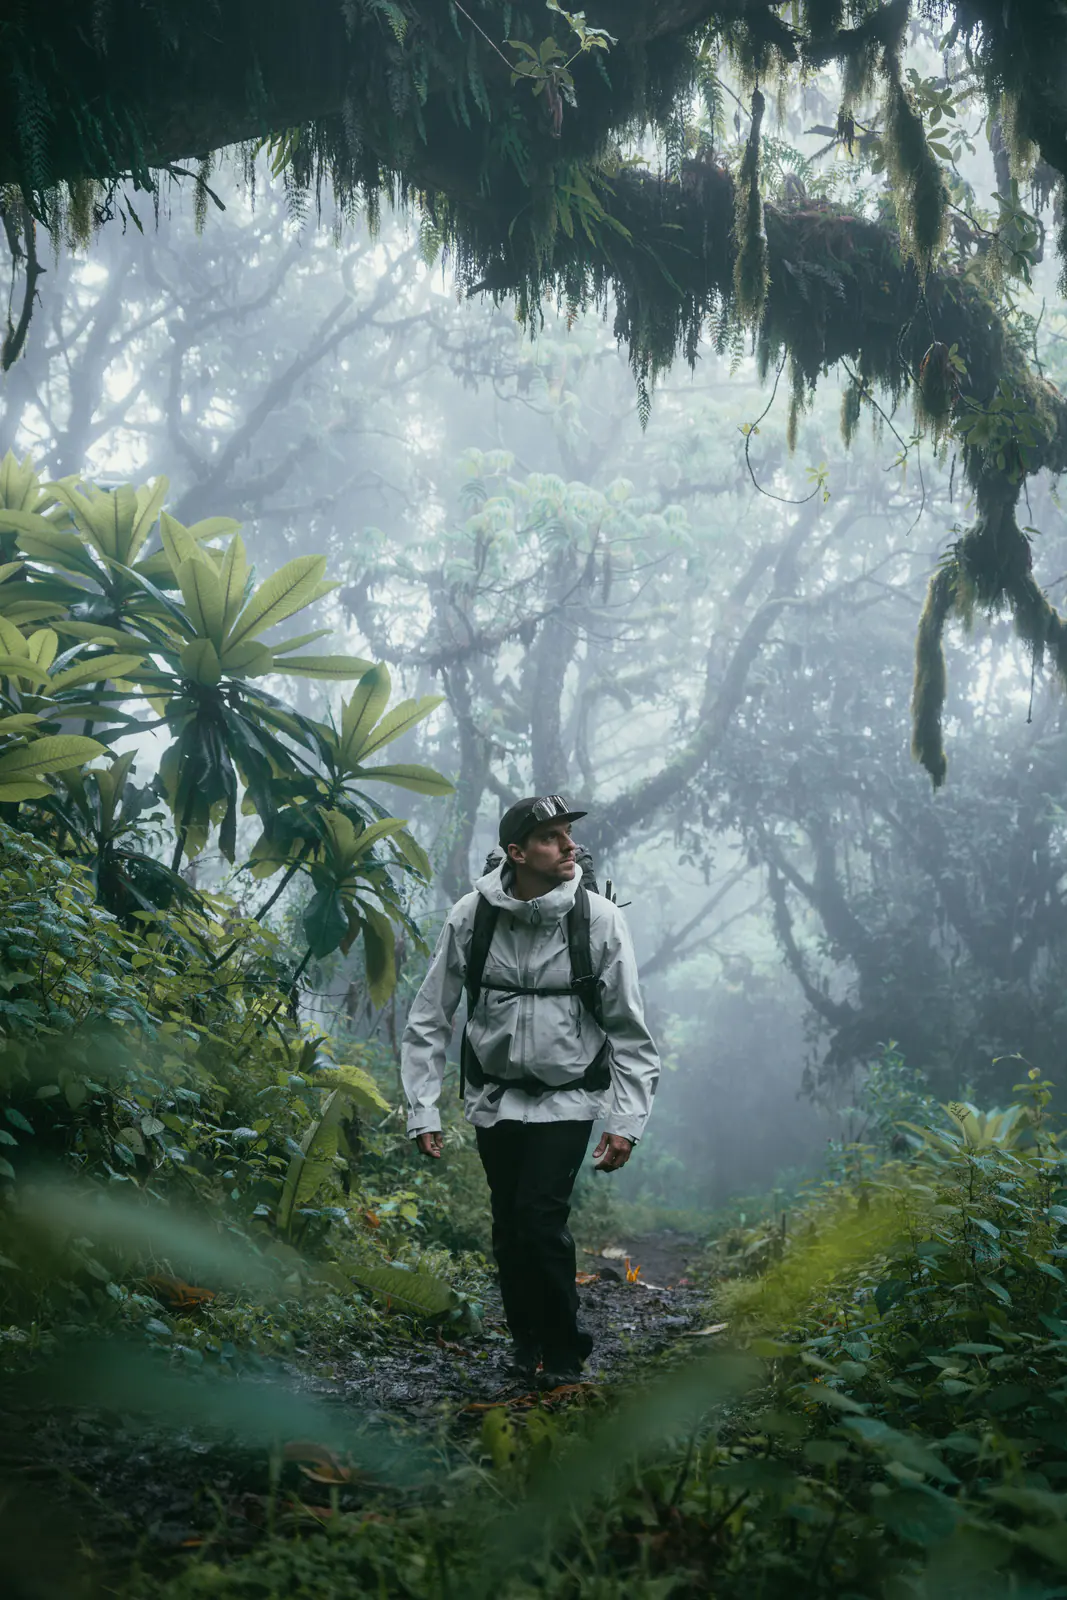
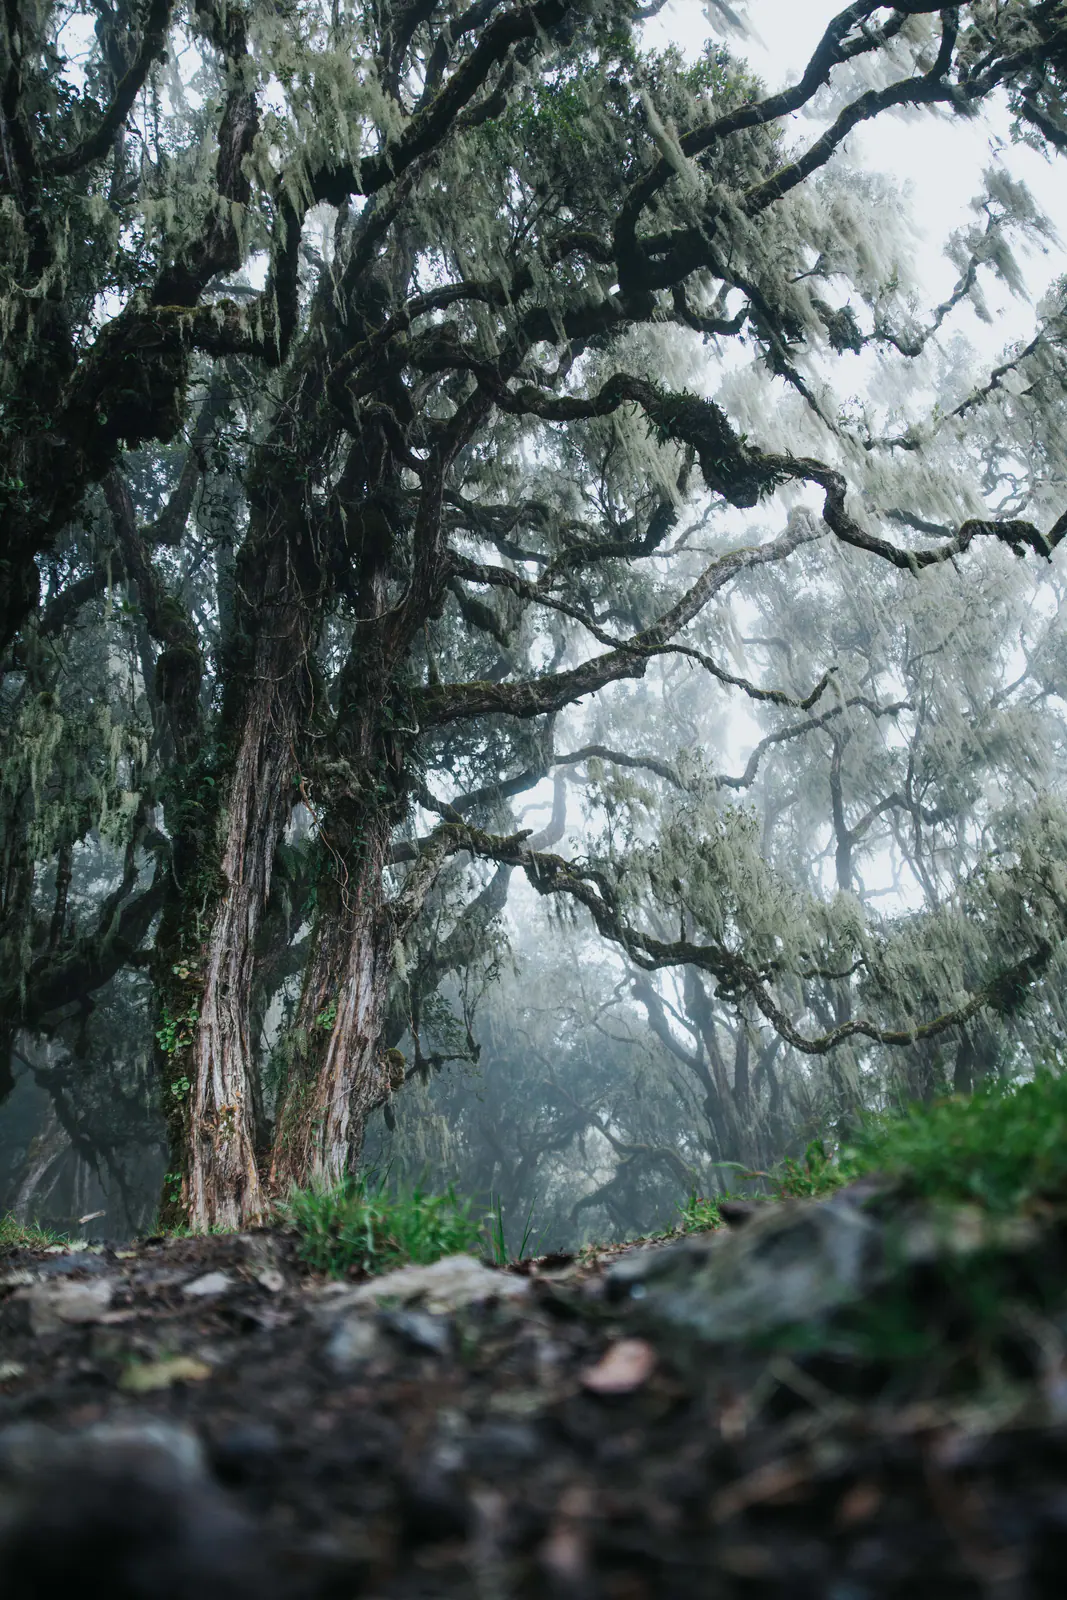
You do get the rainforest in the end: the Mweka descent takes you through it on the way out, so you finish the climb in green surroundings.
05 / 10
Altitude, acclimatisation and difficulty
The defining feature of Shira is that you sleep high on night one. That is manageable with a well-designed itinerary and risky with a rushed one. Headache and poor sleep on the first night are common; how your guide responds on day two is what matters.
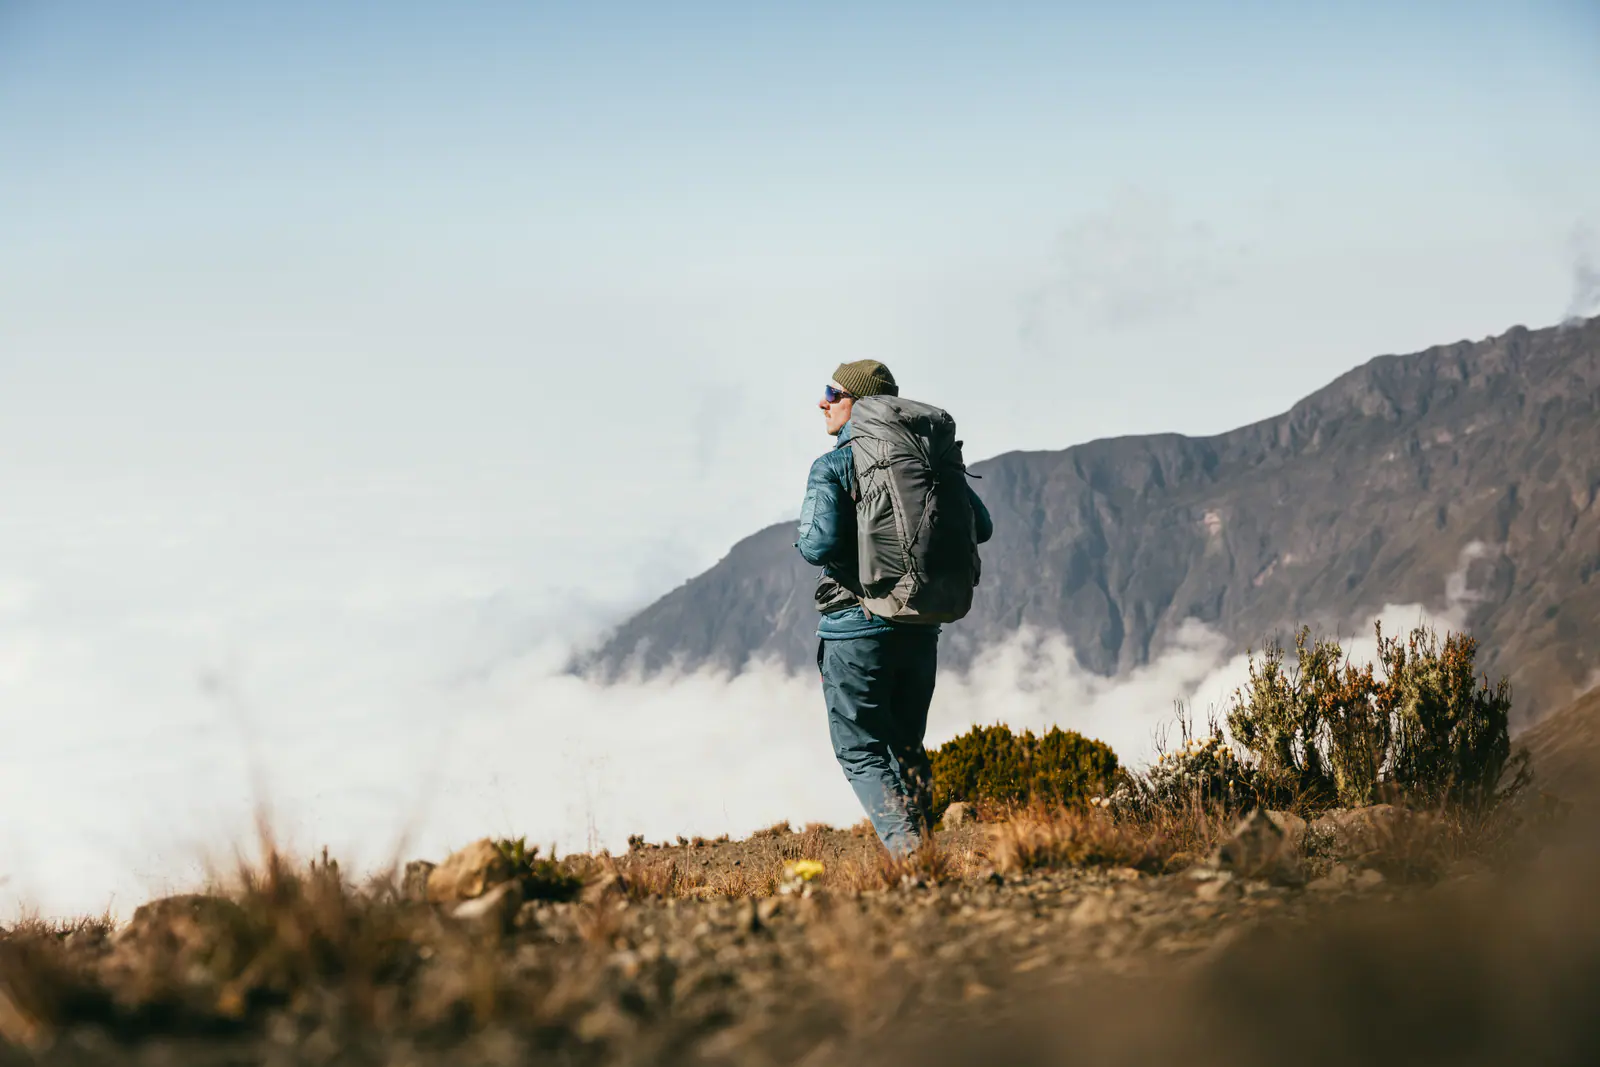
The plateau acclimatisation day does the work the forest walk-in would otherwise do: a day walk to higher ground and a return to the same camp, letting your body adapt without further net gain.
After that the profile follows Lemosho's (the Lava Tower climb-high day and the Karanga step), which is a proven sequence. Twice-daily oxygen saturation and pulse checks apply here as on every route, and the first 48 hours get particular attention.
How hard the walking actually is
Walking difficulty is moderate and similar to Lemosho once you are on the plateau: five to seven hour days on uneven ground, the Barranco Wall scramble, and a long summit night.
What makes Shira feel harder for some climbers is starting high. Effort at 3,500m on your first day feels different from the same effort after two days of walking, and a slow pace on day one is not optional.
Because the ascent is shorter overall, the Mweka descent on the final day is the longest sustained downhill of the trip. Poles and broken-in boots matter.
Your summit matters, but your safety comes first. Every extra day on the mountain buys your body time to produce the red blood cells that make the summit push realistic, which is why we rarely recommend the shortest possible version of any route.
Ask us to walk you through the acclimatisation profile of your exact itinerary rather than comparing day counts alone.
06 / 10
Scenery, crowds and camp experience
Scenery highlights
The Shira Plateau is the reason to take this route: a vast, open high plain with the summit dome on one side and long views west across the plains. Sunset and night skies there are among the best on the mountain.
From Lava Tower onwards you get the full southern face: hanging glaciers, the Breach Wall and Barranco valley at dawn with giant groundsel silhouetted against the ice.
You trade the western rainforest for a higher, starker start. The forest reappears on the descent, so nothing is lost entirely, just reordered.
Crowd levels
The high trailhead sees relatively few groups, so your first day is quiet. The plateau itself is shared with Lemosho and Northern Circuit climbers.
From Barranco onwards you are on the busiest section of the mountain, shared with Machame and Lemosho, and Barafu is a large camp.
Travelling outside the peak weeks of January, February, July and August makes a noticeable difference to how crowded the southern circuit feels.
Safety plan on this route
The main safety focus on Shira is the high start. Our guides watch the first 48 hours closely, keep the pace deliberately slow and are willing to add rest time on the plateau if someone is struggling.
Descent options from the plateau and the southern circuit are good, and losing altitude quickly is straightforward from Barranco and Barafu.
Emergency oxygen, a pulse oximeter and a full first-aid kit travel with every group, and insurance covering trekking to 6,000m with evacuation is required.
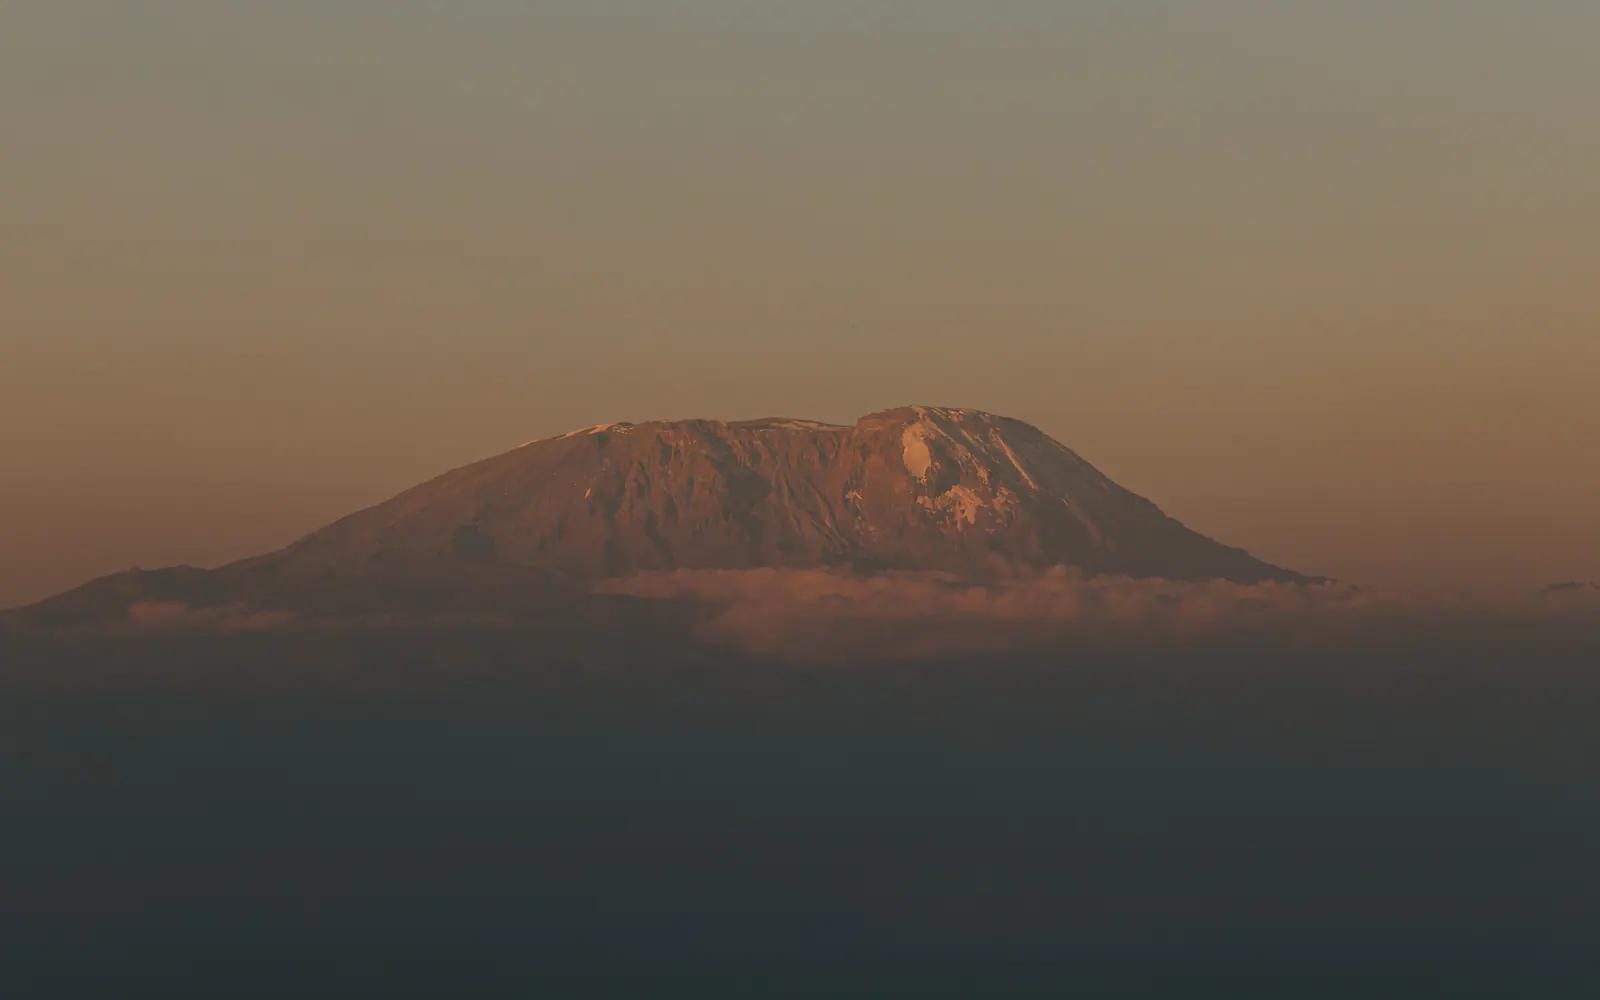
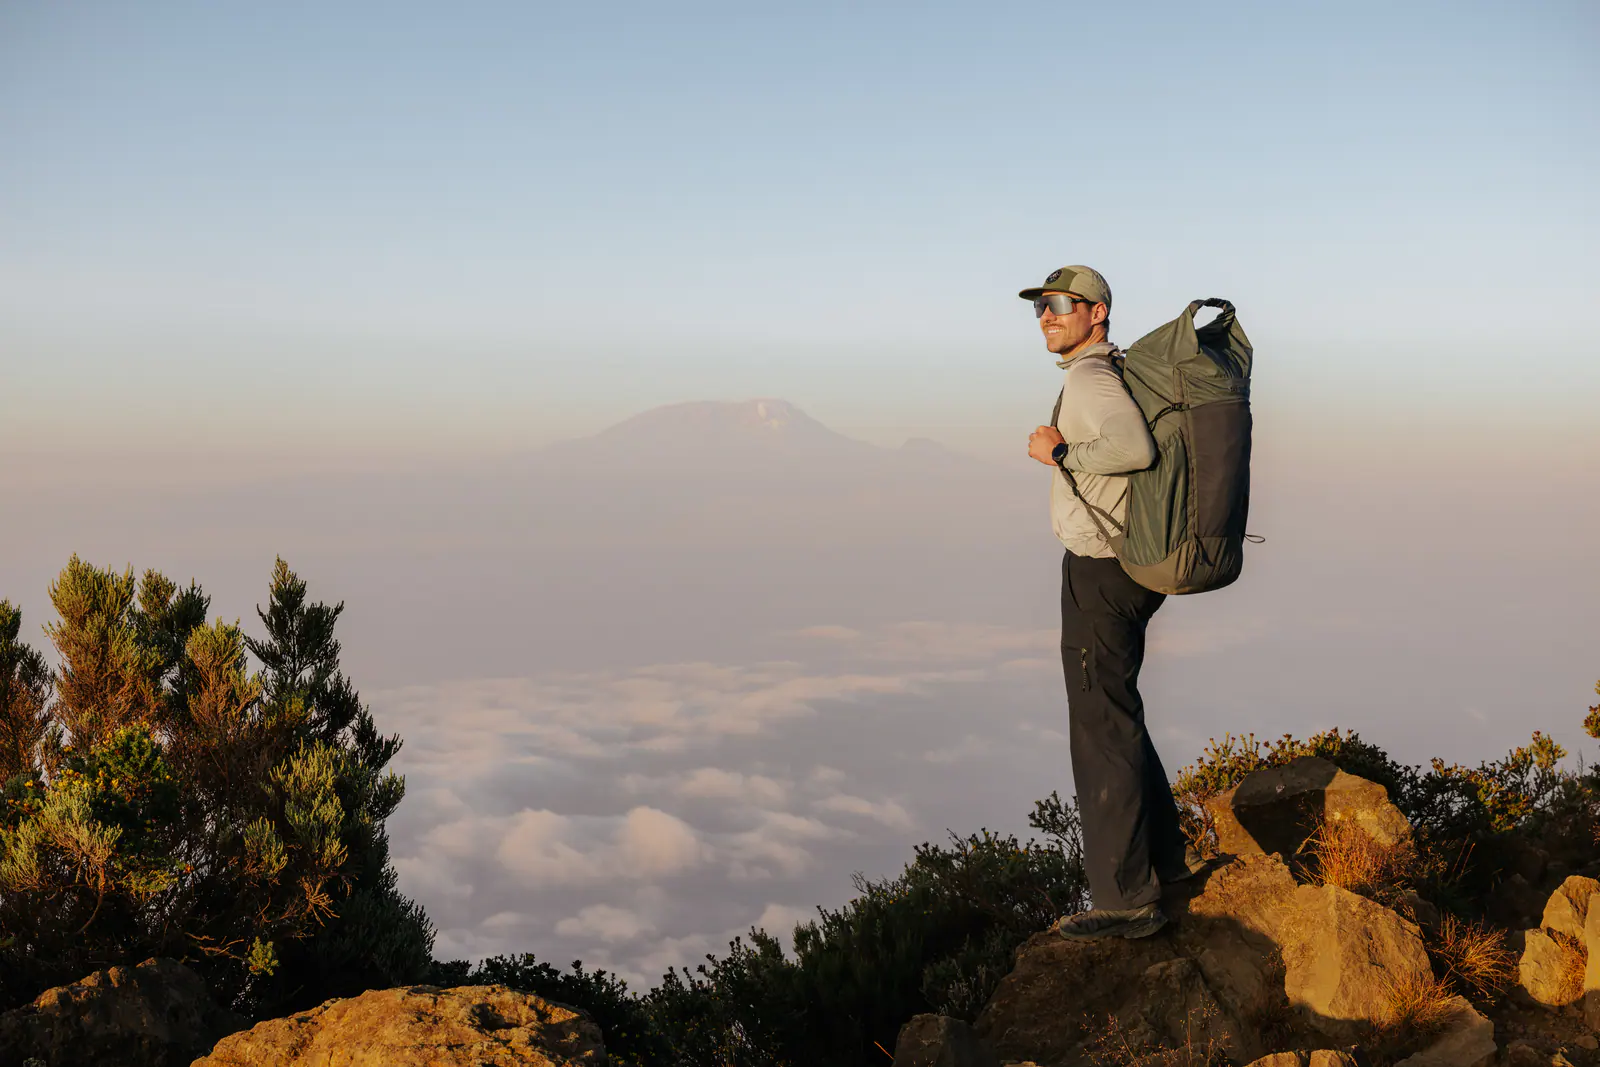
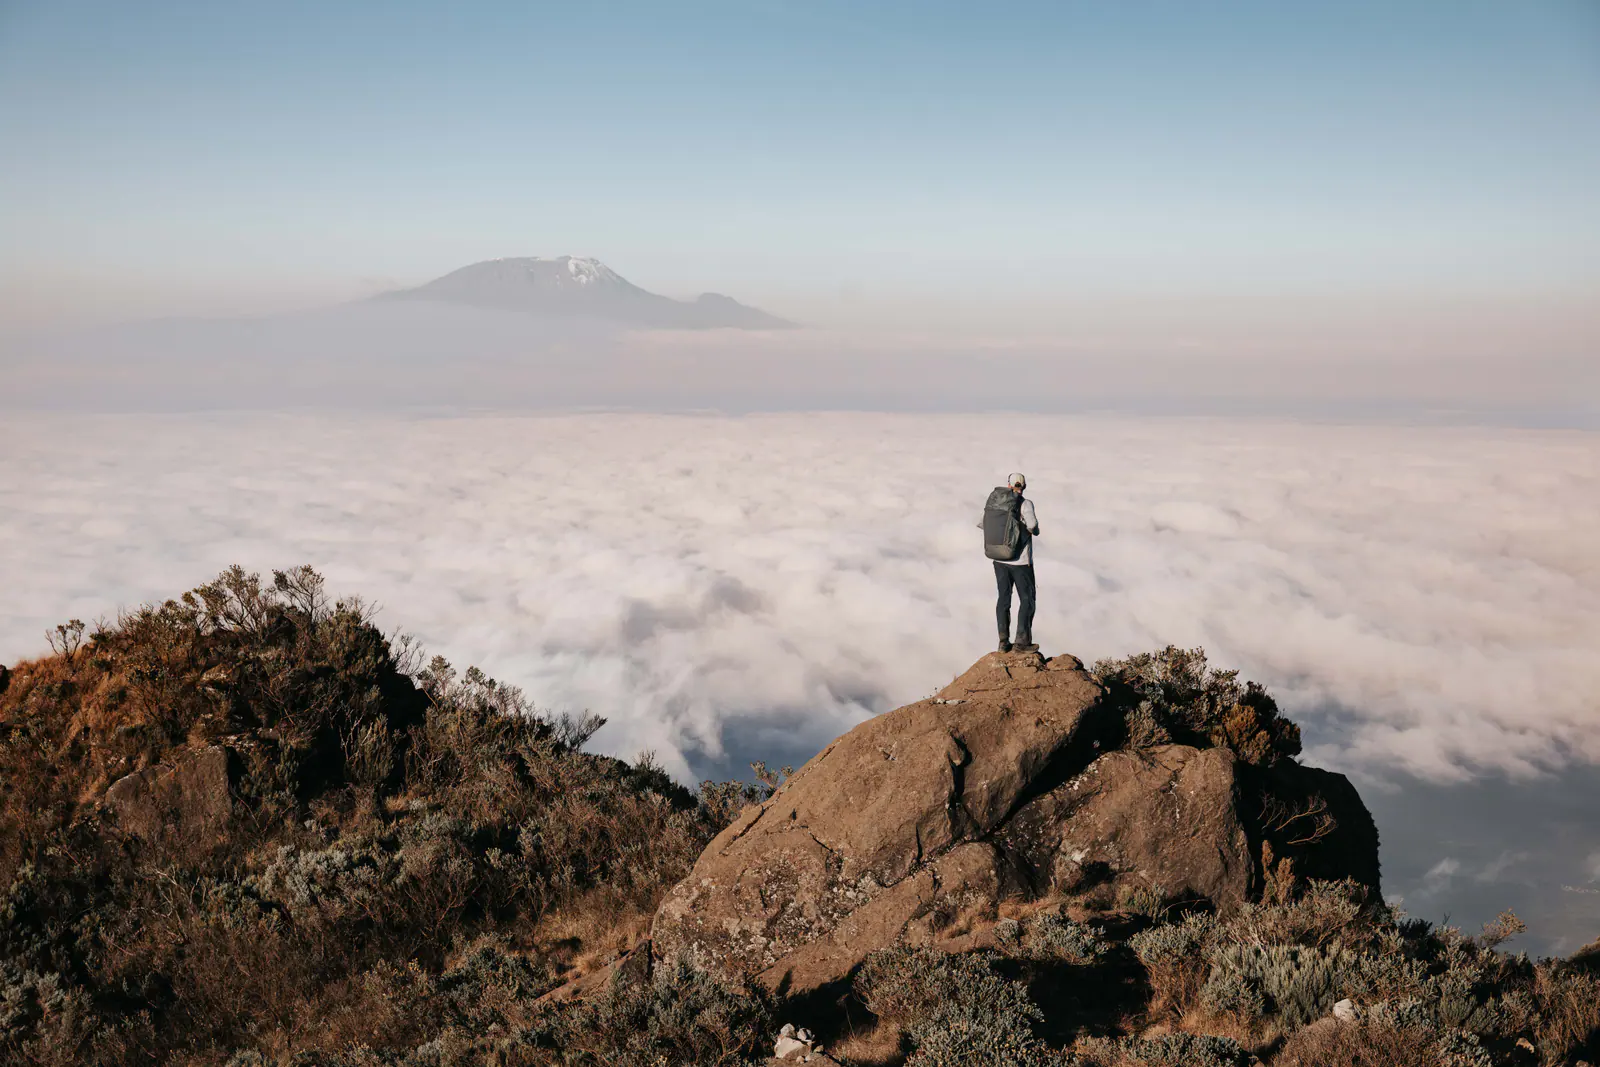
The flat-topped silhouette of Kilimanjaro rising above the haze in early light.
07 / 10
Route fit checker
A short planning tool, not a booking form. It tells you whether this route matches your days, fitness and comfort preferences, and which guide to read next.
Is the Shira Route right for you?
Answer six quick questions and we will tell you whether the Shira Route suits your days, fitness and comfort preferences, or which route to compare it against instead.
0 of 6 answered
Answer all 6 questions and your result appears here.
08 / 10
What drives the cost of this route
Shira costs broadly what a comparable Lemosho costs. The long drive to the high western trailhead offsets much of the saving from fewer walking days, and park, camping and crew costs still accrue per day.
If a Shira quote is much cheaper than a Lemosho quote, check whether the itinerary has removed the plateau acclimatisation day. The one part of this route that should never be cut.
Because fewer operators run it, the range of Shira itineraries in the market is wide. Compare the day-by-day profile, not just the day count.
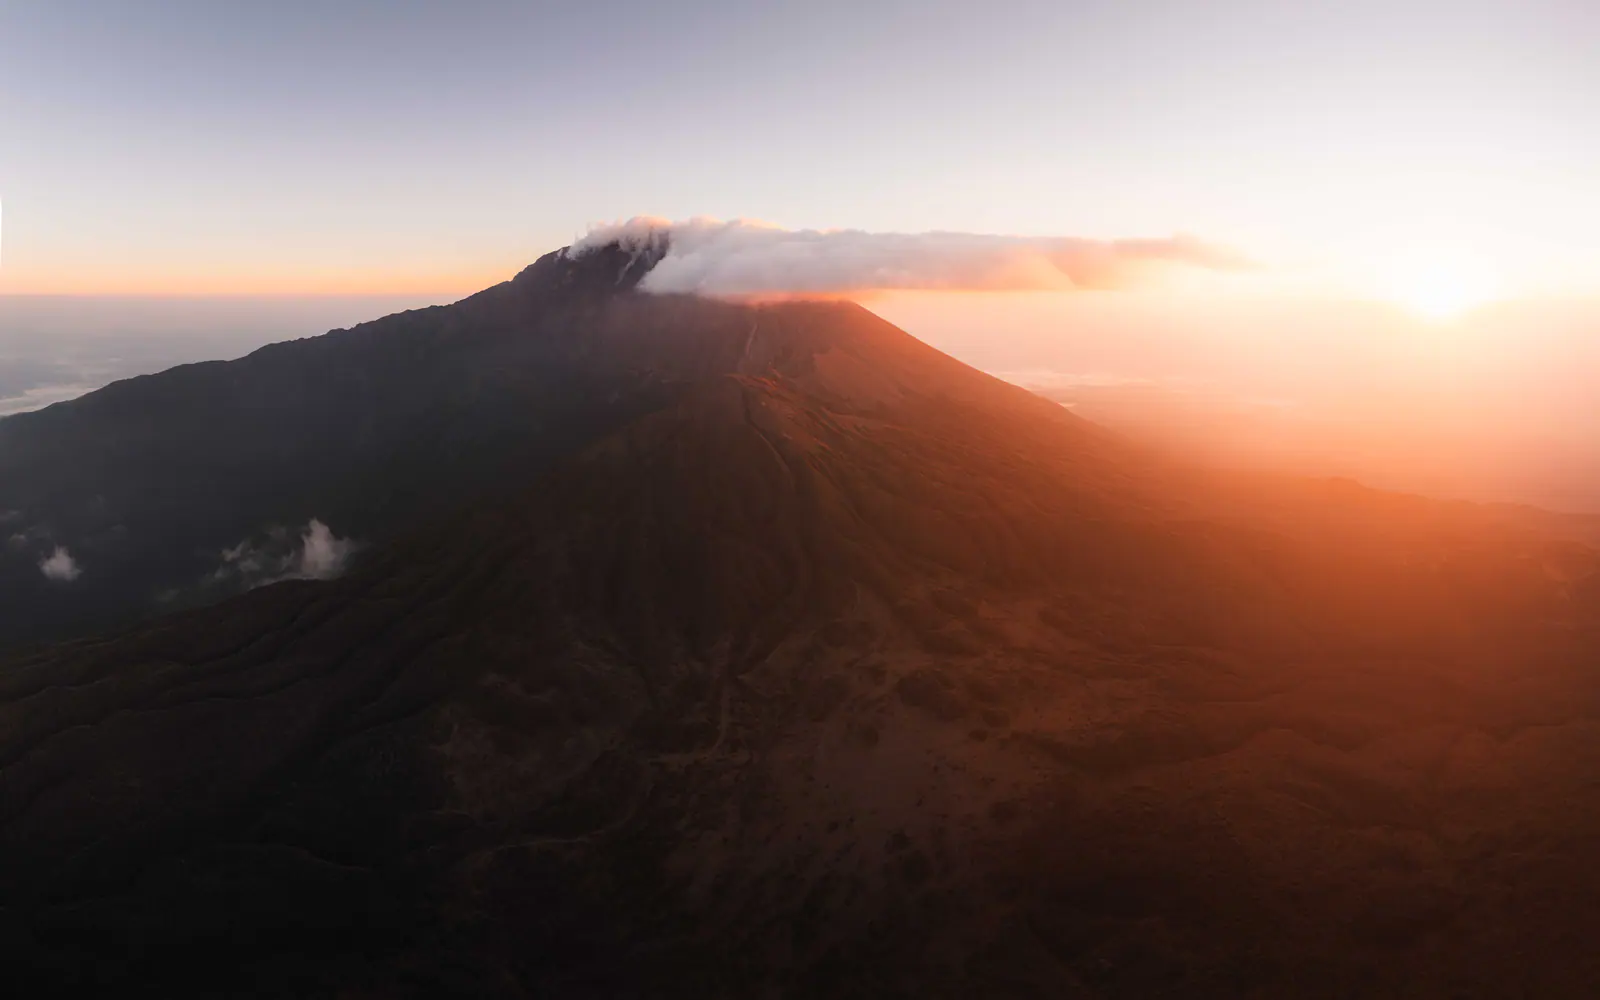
Usually included and usually excluded
Inclusions vary between operators and between private and group departures. Safari Soles confirms every line in writing before you pay, so use this as a checklist rather than a price list.
Usually included
- Park entry, camping and rescue fees for the days quoted
- Lead guide plus assistant guides at a safe ratio
- Cook, camp crew and porters for group equipment
- Tents, dining tent and mess equipment
- Three cooked meals a day and treated drinking water
- Transfers to the western trailhead and from Mweka Gate
- Emergency oxygen and pulse oximeter with the guide team
Usually excluded
- Flights and Tanzanian visa
- Trekking and evacuation insurance (required)
- Hotel nights before and after the climb unless quoted
- Personal clothing, boots and sleeping bag
- Gear rental if needed
- Crew tips
- Private toilet tent, drinks and personal extras
Go deeper on planning
-
Kilimanjaro climb cost
What actually drives the price of a climb, and which parts of a quote should never be cut to save money.
View cost guide -
Kilimanjaro safety
Daily health checks, altitude monitoring, turnaround decisions and evacuation planning explained.
Read safety guide -
Packing list
Layer by layer gear list with an interactive checklist, plus what is worth renting in Moshi.
Open packing checklist
09 / 10
How the Shira Route compares
Shira is best understood as a variation of Lemosho rather than a separate experience. If you want the plateau and the southern circuit, both routes deliver it; Lemosho simply walks you in, and that walk-in is worth having on a first climb.
Choose Shira when there is a real reason (you dislike long forest days, you have altitude experience, or your schedule dictates the high approach) and then insist on the plateau acclimatisation day.
Shira vs Lemosho
Same plateau, same southern circuit. The difference is entirely in how you begin.
Shira vs Machame
| Factor | Shira | Machame |
|---|---|---|
| Start altitude | High | Low forest gate |
| Early gradient | Gentle plateau walking | Steep forest climbing |
| Acclimatisation | Needs deliberate plateau days | Good on 7 days |
| Crowds | Quiet start, busy later | Busy throughout |
| Best for | Avoiding forest days | Value and drama |
Start altitude
- Shira
- High
- Machame
- Low forest gate
Early gradient
- Shira
- Gentle plateau walking
- Machame
- Steep forest climbing
Acclimatisation
- Shira
- Needs deliberate plateau days
- Machame
- Good on 7 days
Crowds
- Shira
- Quiet start, busy later
- Machame
- Busy throughout
Best for
- Shira
- Avoiding forest days
- Machame
- Value and drama
10 / 10
How Safari Soles approaches this
We will plan a Shira climb happily, with the plateau acclimatisation day included as standard. What we will not do is sell a high-start route with no adaptation time, because the first 48 hours are where this route succeeds or fails.
If you are unsure between Shira and Lemosho, tell us your altitude history and available days and we will recommend one clearly rather than leaving the choice to you.
Common mistakes to avoid
Most unsuccessful climbs come from a handful of avoidable planning decisions, not from the mountain.
- Choosing a route only by price, then discovering the cheapest option also has the fewest days on the mountain.
- Booking too few days and giving your body almost no time to adjust to altitude.
- Ignoring altitude entirely because Kilimanjaro is a walking climb rather than a technical one.
- Assuming the most popular route is automatically the best route for you.
- Leaving gear checks until the final week, then renting whatever is left over.
- Underestimating summit night: the cold, the darkness and the very slow pace.
- Booking without understanding the camp style, meals and toilet arrangements you are paying for.
Get these right and the climb follows
Every one of these comes down to the same thing: matching the route and the day count to the climber before booking anything. Send us your dates and we will tell you honestly what is realistic.
Plan this climb with a local expertQuestions worth asking any operator
Ask these of any operator you are comparing, including us. The answers tell you more about a climb than the price does.
- How many days are on the mountain, and how many of those are genuine acclimatisation days?
- Who leads the climb, and how many assistant guides travel with our group size?
- What daily health monitoring happens, and what triggers a descent decision?
- What is included in the quoted price, and what is paid separately?
- What equipment is provided, what can be rented locally and what must I bring?
- How are crew tips collected and distributed at the end of the climb?
What Safari Soles puts in writing
Everything below is confirmed before you pay, so nothing about your climb is left to be discovered on the mountain.
-
Your route, day count and acclimatisation profile
Confirmed in writing before you pay, with our honest view on whether the number of days suits you.
-
How your health is monitored on the mountain
The daily check routine and who is responsible for it are explained at your pre-climb briefing.
-
First-aid and emergency response for your itinerary
You are told what travels with the climb and what happens at each camp if someone needs to descend.
-
Who is on your crew and what each person does
Lead guide, assistant guides, cook and porters are set out for your group size, not left vague.
-
Porter load handling for your climb
Duffel limits and how loads are weighed are confirmed before departure, so there are no gate surprises.
-
Tent, sleeping mat and dining arrangements
Camp comfort is described in the quote rather than discovered on the first night.
-
Meals, drinking water and hot drinks
How your food is cooked and your water treated is explained, including dietary requirements.
-
Gear rental list, sizes and prices
Shared before you shop, so you buy what matters at home and hire the rest on arrival.
-
An itemised quote with fees shown separately
Park and camping fees, crew, equipment, transfers and hotels appear as their own lines.
-
Tipping guidance for your group size
The customary range and how tips are collected are agreed before you fly, in writing.
Safety standards on a Safari Soles climb
What safety means in practice on the mountain, rather than as a promise on a page.
-
Mountain safety preparation
Safety planning starts long before the gate. Your route, day count and acclimatisation profile are chosen for how you actually travel, and every climb is briefed as a plan rather than an ambition.
-
Altitude monitoring
Your guides monitor how you are adjusting each day (how you are sleeping, eating, drinking and breathing) and record what they see so the pattern across the climb is visible, not guessed at.
-
Guide-led pacing
Pace is set by your guide, deliberately slower than most climbers expect. Walking slowly is the single most effective acclimatisation tool on the mountain, and our guides hold that pace even when a group feels strong.
-
First-aid readiness
A mountain first-aid kit travels with every climb and your guide team is briefed on how it is used and when a symptom stops being discomfort and becomes a reason to act.
-
Emergency planning
Each itinerary has a worked-out response for illness or injury at every camp (who escorts you, which way you go down and who is contacted) agreed before day one rather than improvised.
-
Summit-night support
Summit night is the hardest part of the climb, so it is guided most closely: assistant guides stay with slower climbers, layering and hydration are checked before departure, and turning back early is treated as a normal outcome, not a failure.
-
Clear descent decisions
Your lead guide has final authority on descent. The reasoning is explained to you and to your group in advance, so nobody is negotiating a health decision at 5,000m in the dark.
-
Client briefing before the climb
The day before you walk, we go through the itinerary, the daily routine, your gear, the health checks and the descent process, and answer every question while there is still time to act on the answers.
What your climb includes at camp
The parts of a climb you sleep in, eat from and depend on, described before you book rather than discovered on the first night.
-
Tents and sleeping setup
You are told before booking what tent you sleep in, how many climbers share it and what sleeping mat is provided, including where a thicker mat is worth adding.
-
Dining and camp meals
Climbs are planned around hot cooked meals prepared by your own mountain kitchen crew, eaten in a dining setup rather than hunched inside a sleeping tent.
-
Water and hot drinks
Drinking water is collected and treated by your crew each day, and hot drinks come with meals and on arrival at camp. You never need to buy water on the mountain.
-
Gear rental guidance
We tell you what can be rented in Moshi or Arusha, in which sizes, and share the current list and prices so you only buy at home what is genuinely worth owning.
-
Private toilet option
A private portable toilet can be added to a climb where you want it. We confirm availability and the cost for your dates in writing before you book.
-
What you bring yourself
Personal items (boots, layers, gloves, headlamp, sunglasses and a broken-in daypack) stay with you, and we check them with you at the pre-climb briefing.
How we work with our mountain crew
A climb runs on the people carrying it. This is how their loads, meals, pay and tips are handled.
-
Porter load guidance
Loads are managed to the national park limit and your personal duffel is weighed before the climb, so no porter starts the day carrying more than they should.
-
Responsible crew support
Crew wages, hot meals and sleeping arrangements are built into the price of a climb. A quote that undercuts everything else is usually taking it out of the people carrying your bag.
-
Tipping guidance
We explain the customary tipping range for your group size and crew before you travel, and how tips are collected and shared at the end of the climb, so nothing is improvised on the last morning.
-
Respect for guides, cooks and porters
Your crew are named colleagues, introduced to you at the start of the climb, not anonymous labour. That expectation is set with clients as well as crew.
-
Clear explanation of crew roles
Before you book you know who travels with you and why: lead guide, assistant guides, mountain cook and the porters carrying camp, food, water and personal kit.
-
Crew meals and sleeping arrangements
Guides, cooks and porters are supported with planned meals and sleeping arrangements on the mountain, because a safe climb depends on the whole crew being properly cared for, not only the climbers.
Local Kilimanjaro operators, licensed crew, honest guidance
Written and reviewed by the Safari Soles team in Arusha, who plan and run Kilimanjaro climbs from beside the mountain rather than brokering them from an overseas office.
- Reviewed by the Safari Soles Kilimanjaro planning team
- Updated for 2026 climbing seasons
- Route and day count matched to your fitness and altitude history
- Daily health monitoring and descent decisions agreed before you book
- Read Safari Soles reviews on TripAdvisor
- Read Safari Soles reviews on SafariBookings
- Read Safari Soles reviews on Google
Where these facts come from (4)
- UNESCO: Kilimanjaro National Park The World Heritage listing for Kilimanjaro National Park, which records Africa's highest point at 5,895m.
- TANAPA: Tanzania National Parks Official park authority information on regulations, park fees and permitted activities.
- Tanzania Tourist Board Government tourism information on travelling in Tanzania, seasons and destinations.
- Wikipedia: Mount Kilimanjaro Secondary background context on the mountain's geology, glaciers and climbing history.
Related Safari Soles guides
Continue with the guides travellers usually read next.
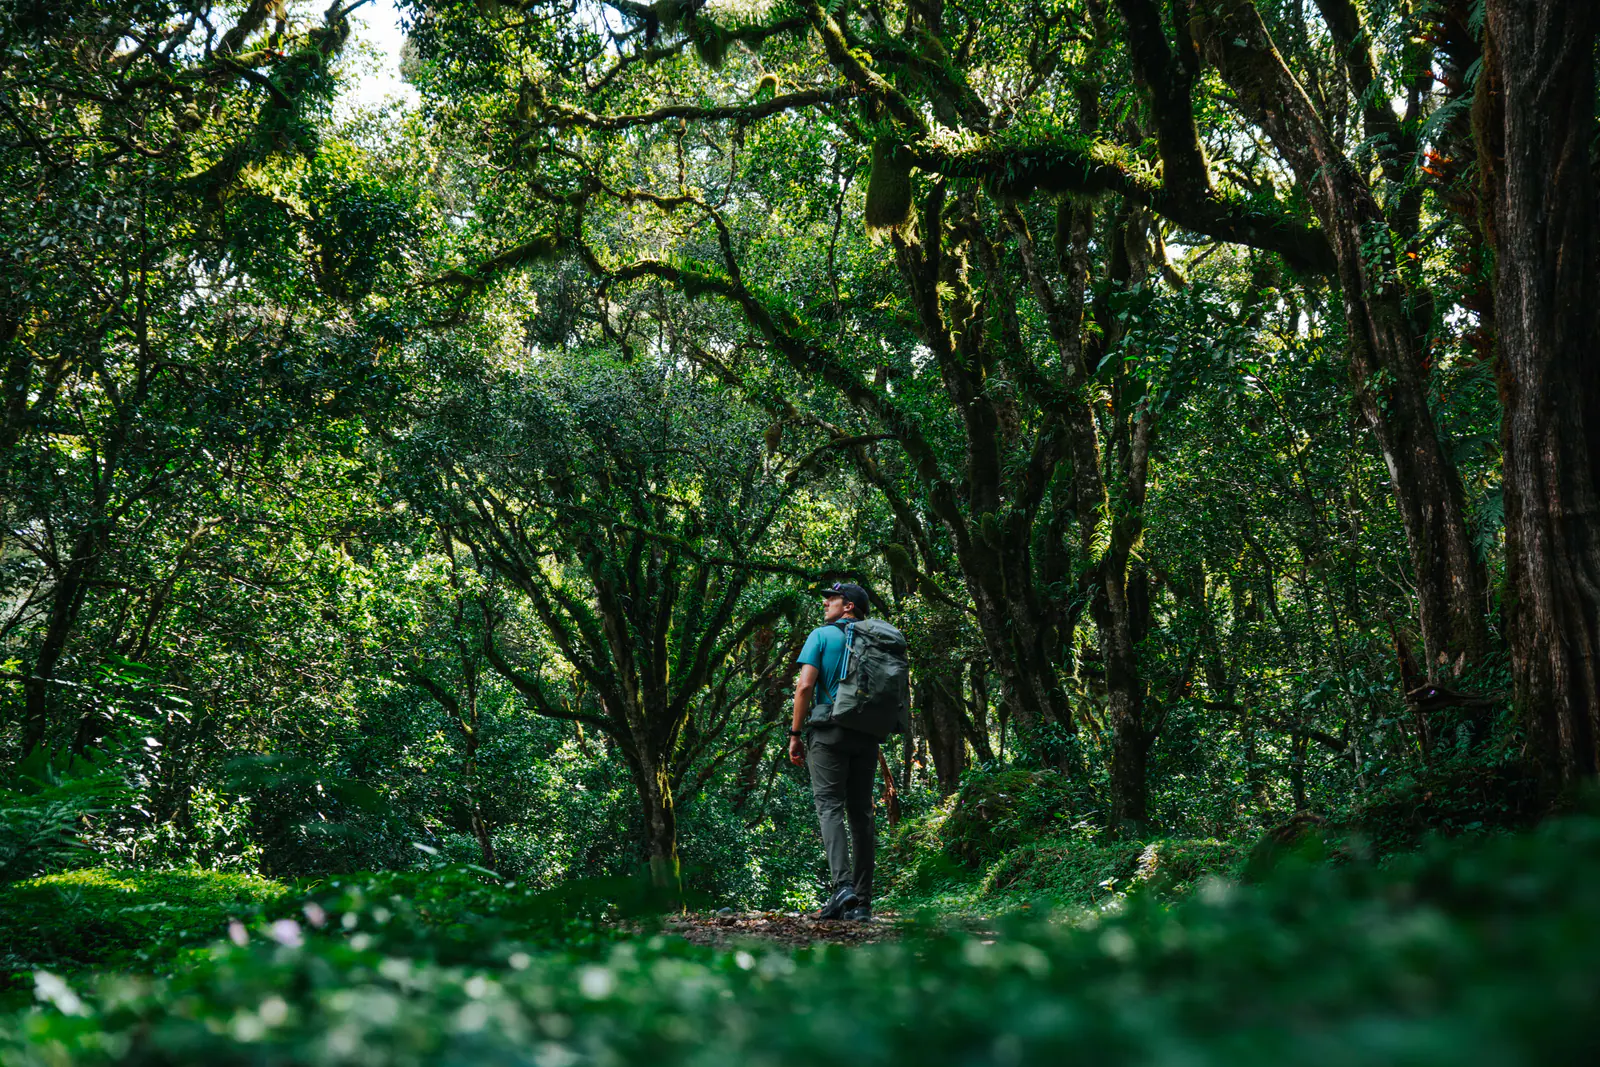 Lemosho Route A longer western approach with a gradual altitude profile and quiet early days through rainforest and moorland. Routes
Read the guide
Lemosho Route A longer western approach with a gradual altitude profile and quiet early days through rainforest and moorland. Routes
Read the guide
 Machame Route The classic 'Whiskey' route: dramatic scenery, the Barranco Wall and a well-loved 6 to 7 day rhythm. Routes
Read the guide
Machame Route The classic 'Whiskey' route: dramatic scenery, the Barranco Wall and a well-loved 6 to 7 day rhythm. Routes
Read the guide
 Kilimanjaro Safety How pacing, guide checks, oxygen, evacuation planning and honest turnaround decisions keep a climb safe. Safety
Read the guide
Kilimanjaro Safety How pacing, guide checks, oxygen, evacuation planning and honest turnaround decisions keep a climb safe. Safety
Read the guide
Frequently Asked Questions
-
A western approach that uses a high vehicle trailhead to reach the Shira Plateau quickly, then follows the southern circuit to the summit and descends via Mweka.
Ready to plan your Shira Route climb?
Tell us your dates, fitness level and group size and we will build a Shira Route itinerary with the right number of acclimatisation days, or recommend a different route if it suits you better.