


Kilimanjaro Training Guide
Kilimanjaro does not demand speed, strength or a gym-honed physique. It demands the ability to keep walking, slowly and steadily, for hours a day, for several days in a row. This guide shows you how to train for exactly that.
- Guide
- Preparation
- Reading time
- 14minutes
- In this guide
- 13sections
- Non-technical climb
- Endurance matters
- Hills and stairs help
- Boots must be broken in
- Readiness checker
Local Tanzania team · Licensed mountain crew · Real Safari Soles itineraries
Kilimanjaro fitness is really about durability, not intensity.
- Kilimanjaro rewards endurance and pacing far more than raw speed or strength.
- Long, steady hill walks are the single most useful training session you can do.
- Back-to-back long days matter because summit week asks your body to recover overnight and go again.
- Downhill training matters as much as uphill: descents are hard on knees and often underestimated.
- A loaded daypack changes how a walk feels, so train with the weight you will actually carry.
- Pole pole pacing is a skill, not just a phrase, and it is worth practising deliberately.
01 / 13
What fitness Kilimanjaro actually demands
Understanding what the mountain actually asks of your body reframes how you should train for it, and why some very fit people still struggle, while some steady, patient walkers do very well.
Where this fits: this guide is part of the Kilimanjaro climbing guides hub, which supports our main Kilimanjaro climbing page and our published Kilimanjaro climb prices.
Read it with the beginner guide, the summit night guide and the altitude and safety guide, and note that CDC guidance on high-altitude travel is clear that fitness alone does not prevent altitude illness.
Add UK travel health advice for Tanzania and independent hiking clothing guidance to your prep, then use the route comparison, the packing list and the cost breakdown to finalise the trip.
Kilimanjaro is a long-duration, low-intensity endurance event, not a fast or technical one. You will walk for five to eight hours on most days, at a pace deliberately slower than your natural walking speed, because altitude and cumulative fatigue punish anyone who rushes. This means the fitness that transfers best is the kind built by hours on your feet, not by short, high-intensity workouts alone.
Marathon runners and gym enthusiasts sometimes assume their fitness guarantees an easy climb, and are surprised when the slow pace and thin air ask something different of them. Meanwhile, steady hillwalkers with unremarkable gym numbers often move beautifully on the mountain, because they have practised exactly the skill the climb requires: sustained, patient movement over many hours.
That does not mean strength and cardio training are wasted. They build the underlying capacity that supports everything else. But the centrepiece of your preparation should be time spent walking, ideally uphill, ideally for hours at a stretch, because that is the closest simulation of what summit week will actually feel like.
Altitude adds a layer that no amount of training at sea level can fully prepare you for. Being fit improves your resilience, your recovery and your ability to keep moving through discomfort, but it does not guarantee you will avoid altitude symptoms. Those depend heavily on individual physiology, pace and acclimatisation days, which is why a well-designed itinerary matters as much as your training plan.
02 / 13
A 12-week training plan
This plan assumes a reasonable existing base of general activity. Adjust the intensity to your own starting point, and check with your doctor before beginning any new training programme.
- Weeks 1–2
Base building: get moving regularly
3 walks of 45–60 minutes, 1 easy cardio session
- Weeks 3–4
Introduce hills and light strength work
2 hill walks of 60–90 minutes, 2 strength sessions
- Weeks 5–6
Extend duration, add a loaded daypack
1 long walk (3–4 hours) with a light pack, 2 hill sessions
- Weeks 7–8
First back-to-back weekend
2 consecutive long walks (4–5 hours each), 1 strength session
- Weeks 9–10
Peak volume, practise full kit
1 very long walk (6+ hours) in boots and layers, 1 hill repeat session
- Week 11
Second back-to-back weekend
2 consecutive long walks (5–6 hours), light strength maintenance
- Week 12
Taper: protect your legs before you fly
Short, easy walks only, rest and mobility work
If a week feels too much, scale it back rather than pushing through pain: nagging joint niggles that flare on the mountain are far worse than a slightly lighter training block at home.
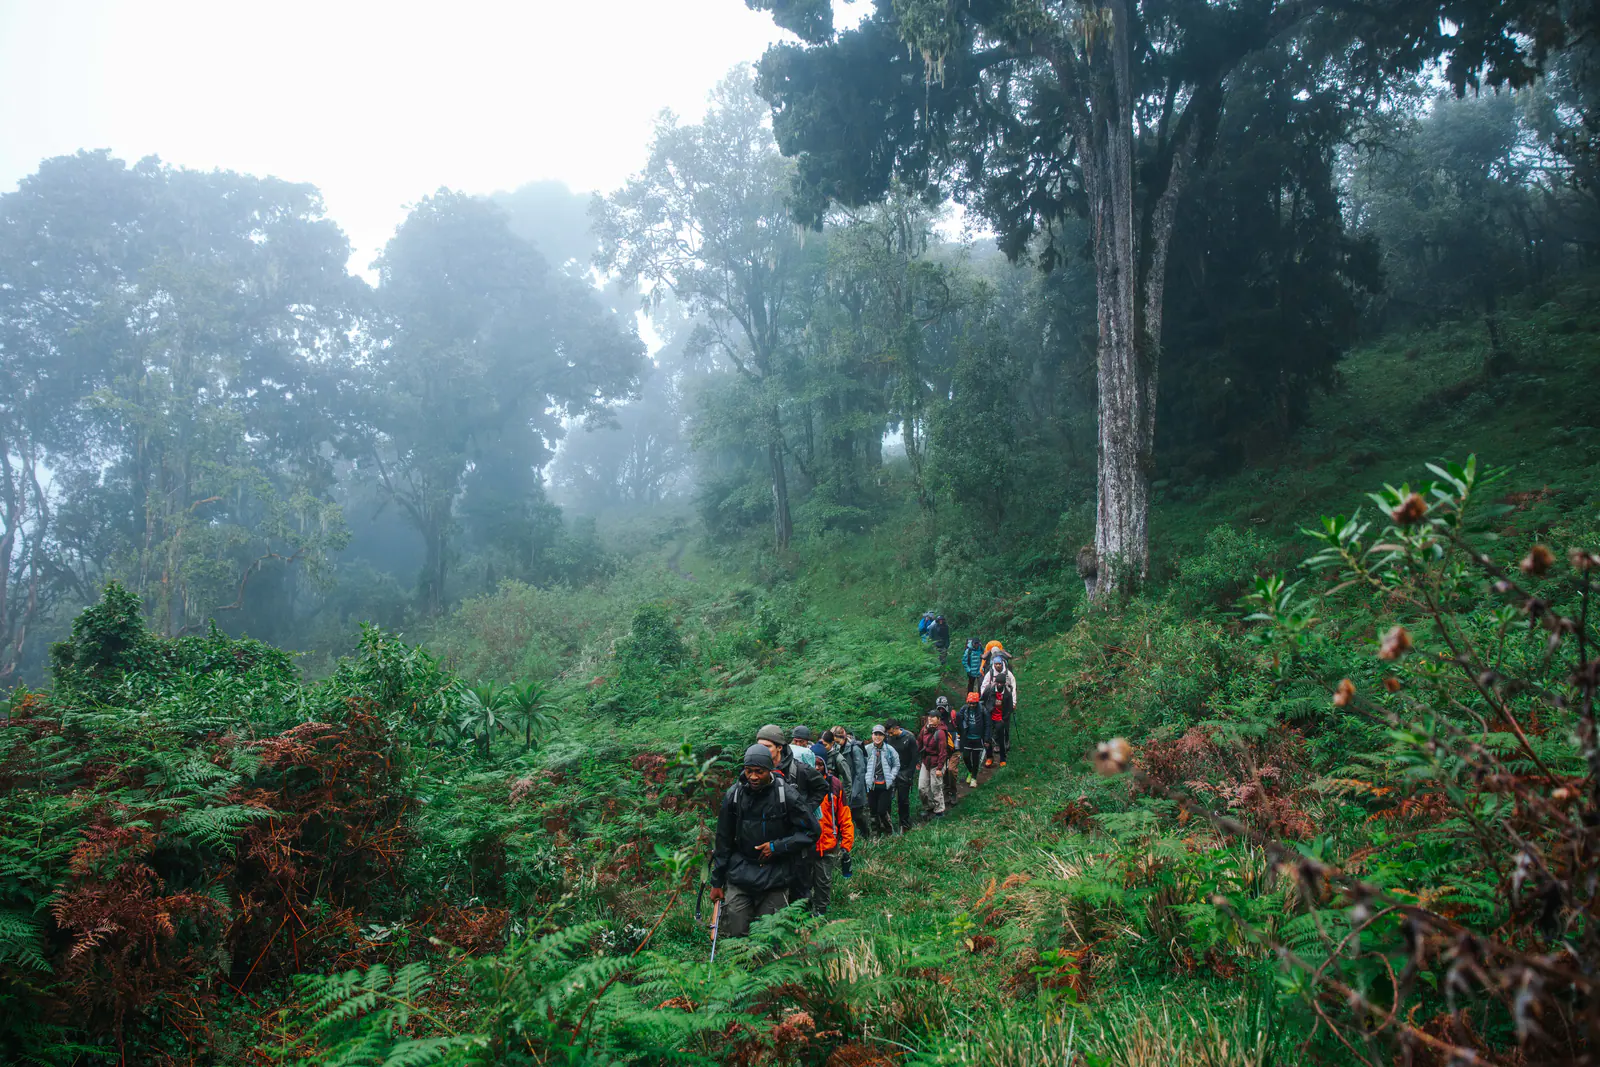
A line of trekkers climbing in single file through ferns and misty forest.
03 / 13
A condensed 8-week plan
If you have less time before departure, this compressed version still builds meaningful endurance, though it asks for more consistency each week to make up for the shorter runway.
| Week block | Focus | Weekly sessions |
|---|---|---|
| Weeks 1–2 | Base building and hill introduction | 3 walks (30–60 minutes), 1 hill session |
| Weeks 3–4 | Extend duration, add loaded pack | 2 hill walks, 1 longer walk (2–3 hours) with a light pack |
| Weeks 5–6 | First back-to-back weekend | 2 consecutive long walks (4+ hours), 1 strength session |
| Week 7 | Peak effort in full kit | 1 very long walk (5–6 hours) in boots, 1 hill repeat session |
| Week 8 | Taper | Short, easy walks only, rest before travel |
Weeks 1–2
- Focus
- Base building and hill introduction
- Weekly sessions
- 3 walks (30–60 minutes), 1 hill session
Weeks 3–4
- Focus
- Extend duration, add loaded pack
- Weekly sessions
- 2 hill walks, 1 longer walk (2–3 hours) with a light pack
Weeks 5–6
- Focus
- First back-to-back weekend
- Weekly sessions
- 2 consecutive long walks (4+ hours), 1 strength session
Week 7
- Focus
- Peak effort in full kit
- Weekly sessions
- 1 very long walk (5–6 hours) in boots, 1 hill repeat session
Week 8
- Focus
- Taper
- Weekly sessions
- Short, easy walks only, rest before travel
04 / 13
Hill and stair training
If you can access real hills, use them: nothing simulates Kilimanjaro's terrain better than sustained uphill and downhill walking on uneven ground. Seek out the steepest, longest trail within reasonable travel distance and treat it as your primary training venue rather than an occasional bonus session.
If you live somewhere flat, stairwells, stadium steps and an incline treadmill are all reasonable substitutes. A treadmill set to a steep incline at a walking pace for 45 to 60 minutes builds much of the same muscular endurance as a real hill, even if it cannot replicate uneven footing or genuine descent.
Do not neglect the downhill half of hill training. Many climbers focus entirely on the uphill effort and then find their quads and knees unprepared for the long, jarring descent from the crater rim, often the part of the climb people remember as hardest on their bodies. Deliberately practise long descents, ideally on trails rather than pavement, to condition the muscles that absorb impact.
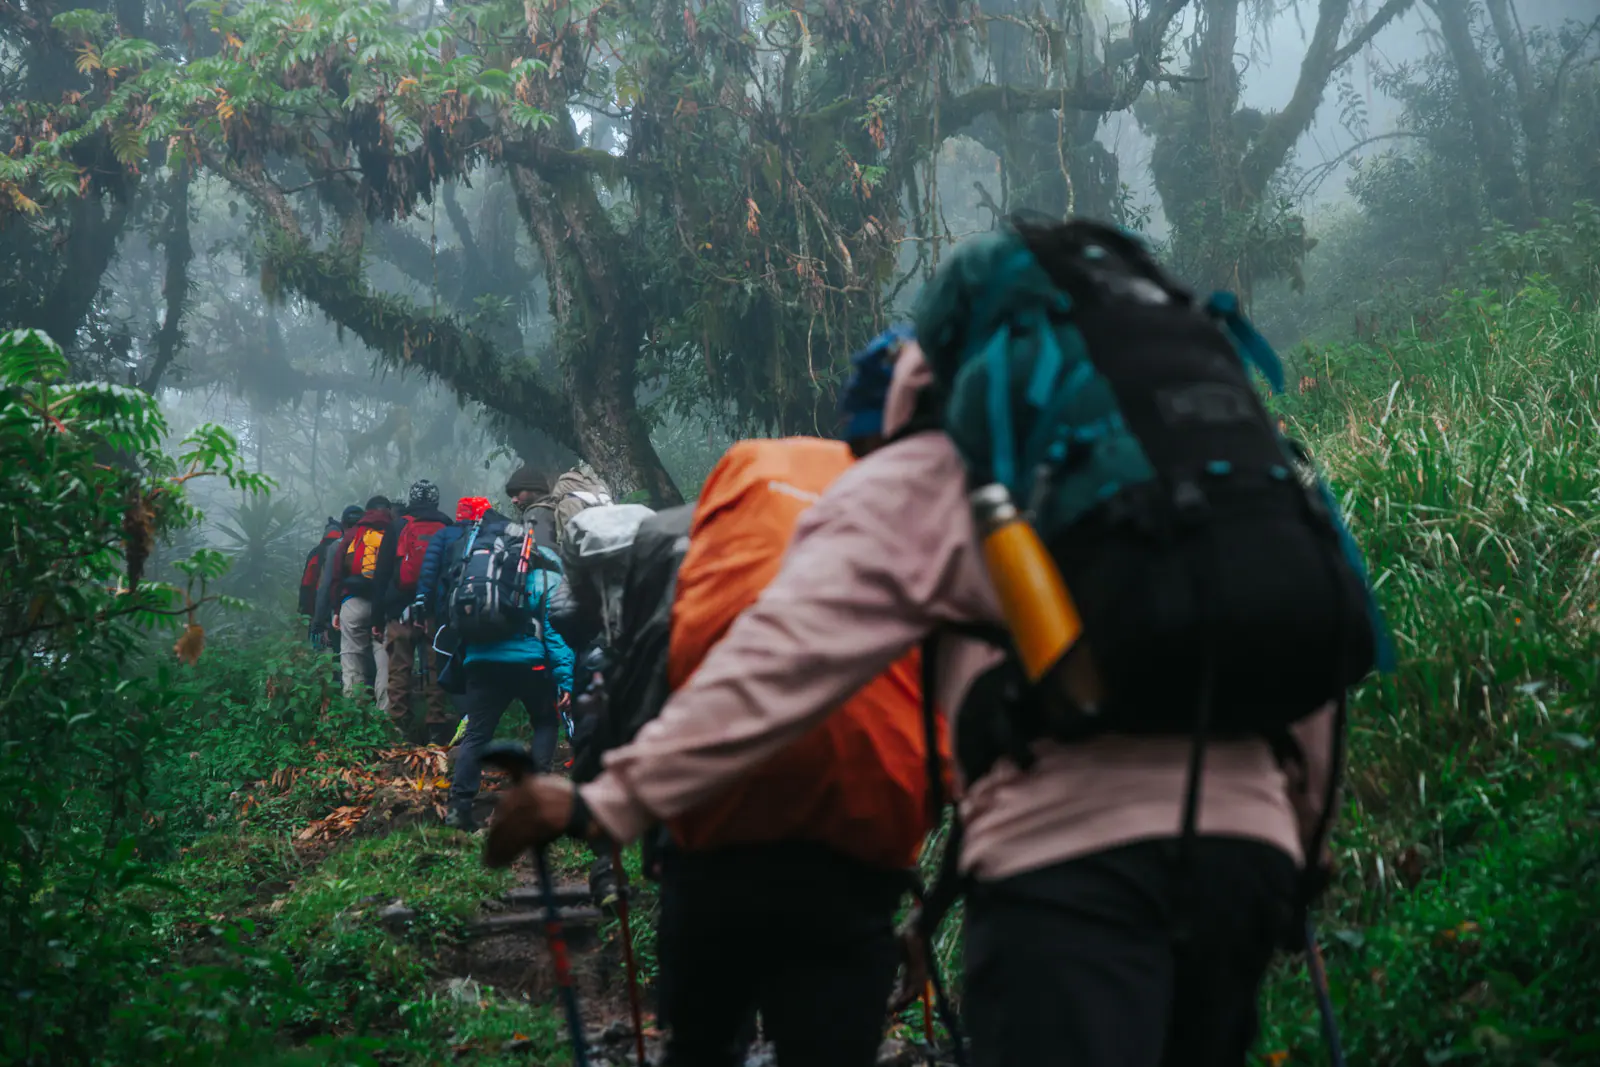
A line of trekkers in bright packs on a muddy forest trail, seen from behind.
05 / 13
Back-to-back long walk weekends
A single long walk tells you little about how your body handles cumulative fatigue, which is exactly what a multi-day climb demands. Two consecutive long walks, a genuinely demanding Saturday followed by another long walk on Sunday, teach you far more about how your legs, feet and motivation respond when they do not get a full recovery day in between.
Pay attention to what changes on day two: does a hotspot from day one become a blister, does your pace slow more than expected, do your hips or shoulders ache differently under a pack you barely noticed the day before? These are exactly the signals your body will give you mid-climb, and back-to-back training weekends are where you learn to read and respond to them before it matters.
Two back-to-back weekends spread through your training block, ideally including one close to your peak week, give you a realistic preview of cumulative fatigue without overloading your schedule.
06 / 13
Strength and core work
- Squats and lunges to build the leg strength that sustains hours of walking
- Step-ups on a box or stair to mimic the repetitive climbing motion
- Core work such as planks and rotational exercises for stability on uneven trails
- Calf raises to support long descents and reduce strain on the Achilles
- Light upper body and grip work to support extended trekking pole use
Two focused strength sessions a week, roughly 30 to 40 minutes each, are usually enough alongside your walking training. The goal is supporting muscular endurance for a multi-day trek, not building bulk or maximum strength, so moderate weights with higher repetitions suit this purpose better than heavy lifting.
07 / 13
Walking with a loaded daypack
On the mountain, your daypack carries water, extra layers, snacks, a camera and anything else you need through the walking day, typically somewhere in the region of five to eight kilograms depending on the day and the weather. Training with a similarly loaded pack, rather than walking empty-handed, prepares your shoulders, hips and posture for how the climb will actually feel.
Use the exact daypack you plan to bring, adjusted the way you will wear it on the mountain, so any rubbing points, strap issues or fit problems surface during training rather than on day three of the climb. A well-fitted hip belt transfers weight away from your shoulders and makes a noticeable difference over a long day.
Introduce the loaded pack gradually rather than all at once: add it to your medium-length walks first, then carry it on your longer and back-to-back sessions as your body adapts to the extra load.
08 / 13
Pole technique and pacing (pole pole)
"Pole pole" (Swahili for slowly, slowly) is the single most repeated phrase on Kilimanjaro, and for good reason. Walking noticeably slower than your natural pace, especially uphill, conserves energy and reduces the rate at which your body has to adjust to falling oxygen levels. It feels almost too slow at first, and that feeling is exactly the point.
Practise this pace deliberately on training walks rather than trying to adopt it for the first time on the mountain. Pick a pace at which you could comfortably hold a conversation throughout a steady uphill section, then consciously slow down further. Most people are surprised by how slow an efficient, sustainable climbing pace actually feels.
Trekking poles support this rhythm by taking load off your legs and giving your arms a role in propulsion, particularly on long ascents and descents. Practise using them on real hills before you fly, adjusting the length for uphill versus downhill sections, so the motion feels natural rather than something you are learning under pressure during summit week.
A thin waterfall catching bright light in a dark gorge.
09 / 13
Summit readiness checklist
Work through each group honestly and see where your training currently stands against what the mountain will ask of you.
Summit readiness checklist
Tick off the training you have genuinely done, not the training you plan to do. This is a self-assessment tool, not a fitness test administered by Safari Soles: talk to your doctor before starting any new exercise programme.
Early stages: build your base with regular walking before adding hills
0 / 21 sorted
Endurance
Hills & elevation
Back-to-back days
Strength
Load carrying
Practice & gear testing
This checklist reflects general good practice for a multi-day high-altitude trek. It is not a substitute for medical advice, and fitness alone does not remove the risks of altitude.
10 / 13
Recovery, sleep and injury avoidance
Training consistently over many weeks matters more than any single heroic session, which means protecting your body from injury is part of the plan, not separate from it. Build rest days into every week, prioritise sleep during your heaviest training blocks, and treat small niggles (a sore knee, a tight calf) as signals to adjust rather than obstacles to push through.
Overuse injuries, particularly in the knees, shins and feet, are the most common reason a training plan derails in the final weeks before a climb. Increasing weekly walking volume gradually, rather than jumping straight into very long sessions, is the simplest way to avoid this.
In the final one to two weeks before you fly, taper deliberately: shorter, easier walks only, good sleep, and no new gear or unfamiliar training sessions. Your legs should arrive in Tanzania rested and ready, not depleted from a last-minute push.
11 / 13
Common training mistakes
- Training almost entirely on flat ground and skipping hills altogether.
- Focusing on speed or distance records rather than time spent walking steadily.
- Never practising a loaded daypack until the actual climb.
- Ignoring downhill training and being surprised by sore knees on descent day.
- Doing one long walk and assuming that covers back-to-back demands.
- Buying and wearing new boots for the first time on the mountain.
- Pushing through joint pain in training instead of adjusting the plan.
- Cramming all the training into the final few weeks before departure.
12 / 13
Training from scratch vs training as a regular hiker
Two climbers can need very different plans for the same itinerary. Find the column that describes you honestly.
Training reduces how hard the walking feels and how well you recover overnight. It does not protect you from altitude, which is why we pair every training conversation with a recommendation about day count.
If your available training time is short, add a mountain day rather than trying to compress the plan.
13 / 13
How Safari Soles approaches this
We are happy to talk through your training plan relative to your chosen route and itinerary length. A longer route with more acclimatisation days can be a sensible option alongside a solid training block, rather than a substitute for one.
If you have a pre-existing injury or medical condition, discuss your training plan with a doctor before you begin, and let us know so we can factor it into route and pacing advice.
Common mistakes to avoid
Most unsuccessful climbs come from a handful of avoidable planning decisions, not from the mountain.
- Assuming general gym fitness automatically transfers to hours of slow, steady walking.
- Skipping hill and stair training in favour of flat cardio sessions only.
- Never testing a loaded daypack before the climb itself.
- Underestimating how much descents demand of the knees and quads.
- Attempting only one long walk instead of practising back-to-back days.
- Wearing brand-new boots for the first time on the mountain.
- Ignoring early injury warning signs during training.
- Believing fitness alone guarantees protection from altitude symptoms.
Get these right and the climb follows
Every one of these comes down to the same thing: matching the route and the day count to the climber before booking anything. Send us your dates and we will tell you honestly what is realistic.
Plan this climb with a local expertQuestions worth asking any operator
Training questions are really itinerary questions. Ask these so the plan you train for matches the climb you actually booked.
- Given my fitness and hiking background, which route and how many days would you actually recommend?
- How long should I train before this itinerary, and what does a realistic week look like?
- How is daily pace set on the mountain, and what happens if I am slower than the group?
- Should I discuss altitude medication with my doctor, and what do your guides see work in practice?
- How many hours of walking should I be comfortable with on consecutive days before I fly?
- What should I train specifically for summit night and the long descent afterwards?
What Safari Soles puts in writing
Everything below is confirmed before you pay, so nothing about your climb is left to be discovered on the mountain.
-
Your route, day count and acclimatisation profile
Confirmed in writing before you pay, with our honest view on whether the number of days suits you.
-
How your health is monitored on the mountain
The daily check routine and who is responsible for it are explained at your pre-climb briefing.
-
First-aid and emergency response for your itinerary
You are told what travels with the climb and what happens at each camp if someone needs to descend.
-
Who is on your crew and what each person does
Lead guide, assistant guides, cook and porters are set out for your group size, not left vague.
-
Porter load handling for your climb
Duffel limits and how loads are weighed are confirmed before departure, so there are no gate surprises.
-
Tent, sleeping mat and dining arrangements
Camp comfort is described in the quote rather than discovered on the first night.
-
Meals, drinking water and hot drinks
How your food is cooked and your water treated is explained, including dietary requirements.
-
Gear rental list, sizes and prices
Shared before you shop, so you buy what matters at home and hire the rest on arrival.
-
An itemised quote with fees shown separately
Park and camping fees, crew, equipment, transfers and hotels appear as their own lines.
-
Tipping guidance for your group size
The customary range and how tips are collected are agreed before you fly, in writing.
Safety standards on a Safari Soles climb
What safety means in practice on the mountain, rather than as a promise on a page.
-
Mountain safety preparation
Safety planning starts long before the gate. Your route, day count and acclimatisation profile are chosen for how you actually travel, and every climb is briefed as a plan rather than an ambition.
-
Altitude monitoring
Your guides monitor how you are adjusting each day (how you are sleeping, eating, drinking and breathing) and record what they see so the pattern across the climb is visible, not guessed at.
-
Guide-led pacing
Pace is set by your guide, deliberately slower than most climbers expect. Walking slowly is the single most effective acclimatisation tool on the mountain, and our guides hold that pace even when a group feels strong.
-
First-aid readiness
A mountain first-aid kit travels with every climb and your guide team is briefed on how it is used and when a symptom stops being discomfort and becomes a reason to act.
-
Emergency planning
Each itinerary has a worked-out response for illness or injury at every camp (who escorts you, which way you go down and who is contacted) agreed before day one rather than improvised.
-
Summit-night support
Summit night is the hardest part of the climb, so it is guided most closely: assistant guides stay with slower climbers, layering and hydration are checked before departure, and turning back early is treated as a normal outcome, not a failure.
-
Clear descent decisions
Your lead guide has final authority on descent. The reasoning is explained to you and to your group in advance, so nobody is negotiating a health decision at 5,000m in the dark.
-
Client briefing before the climb
The day before you walk, we go through the itinerary, the daily routine, your gear, the health checks and the descent process, and answer every question while there is still time to act on the answers.
Local Kilimanjaro operators, licensed crew, honest guidance
Written and reviewed by the Safari Soles team in Arusha, who plan and run Kilimanjaro climbs from beside the mountain rather than brokering them from an overseas office.
- Reviewed by the Safari Soles Kilimanjaro planning team
- Updated for 2026 climbing seasons
- Route and day count matched to your fitness and altitude history
- Daily health monitoring and descent decisions agreed before you book
- Read Safari Soles reviews on TripAdvisor
- Read Safari Soles reviews on SafariBookings
- Read Safari Soles reviews on Google
Where these facts come from (6)
- UNESCO: Kilimanjaro National Park The World Heritage listing for Kilimanjaro National Park, which records Africa's highest point at 5,895m.
- TANAPA: Tanzania National Parks Official park authority information on regulations, park fees and permitted activities.
- Tanzania Tourist Board Government tourism information on travelling in Tanzania, seasons and destinations.
- Wikipedia: Mount Kilimanjaro Secondary background context on the mountain's geology, glaciers and climbing history.
- CDC: Travel to high altitudes US Centers for Disease Control guidance on altitude illness, ascent rates and when to descend.
- American Hiking Society: What to wear hiking Non-commercial guidance on hiking clothing, fabrics and waterproof outer layers.
Related Safari Soles guides
Continue with the guides travellers usually read next.
 Kilimanjaro Altitude Sickness Recognising early symptoms, understanding acclimatisation and knowing when to descend. Safety
Read the guide
Kilimanjaro Altitude Sickness Recognising early symptoms, understanding acclimatisation and knowing when to descend. Safety
Read the guide
 Kilimanjaro Packing List Layer by layer gear checklist covering boots, sleeping systems, summit-night warmth and what to rent locally. Preparation
Read the guide
Kilimanjaro Packing List Layer by layer gear checklist covering boots, sleeping systems, summit-night warmth and what to rent locally. Preparation
Read the guide
 Kilimanjaro Summit Night What really happens between midnight and sunrise: cold, pace, layers, food and reaching Uhuru Peak. Safety
Read the guide
Kilimanjaro Summit Night What really happens between midnight and sunrise: cold, pace, layers, food and reaching Uhuru Peak. Safety
Read the guide
Frequently Asked Questions
-
Eight to twelve weeks of consistent, structured training is a reasonable general guide for most reasonably active people, though a longer runway allows for a more gradual, injury-resistant build-up.
Want help matching your training to the right route?
Tell us about your current fitness and training plan and we will help you choose an itinerary length and pace that suits where you genuinely are, not where you hope to be.